Templates are excellent tools for imaging onto small items. They guide you on how to resize your image to fit the substrate as well as allow you to see a mock-up of the final imaged product. In some instances, you can see what parts of the picture is cut-off by holes in the substrate (such as an iPhone cover camera hole).
While most vendors will provide you with templates for your imprintable blanks, not all blank items will have their own template. So it is useful to know how to make your own templates.
Here’s how to make your own template:
Cylindrical Objects
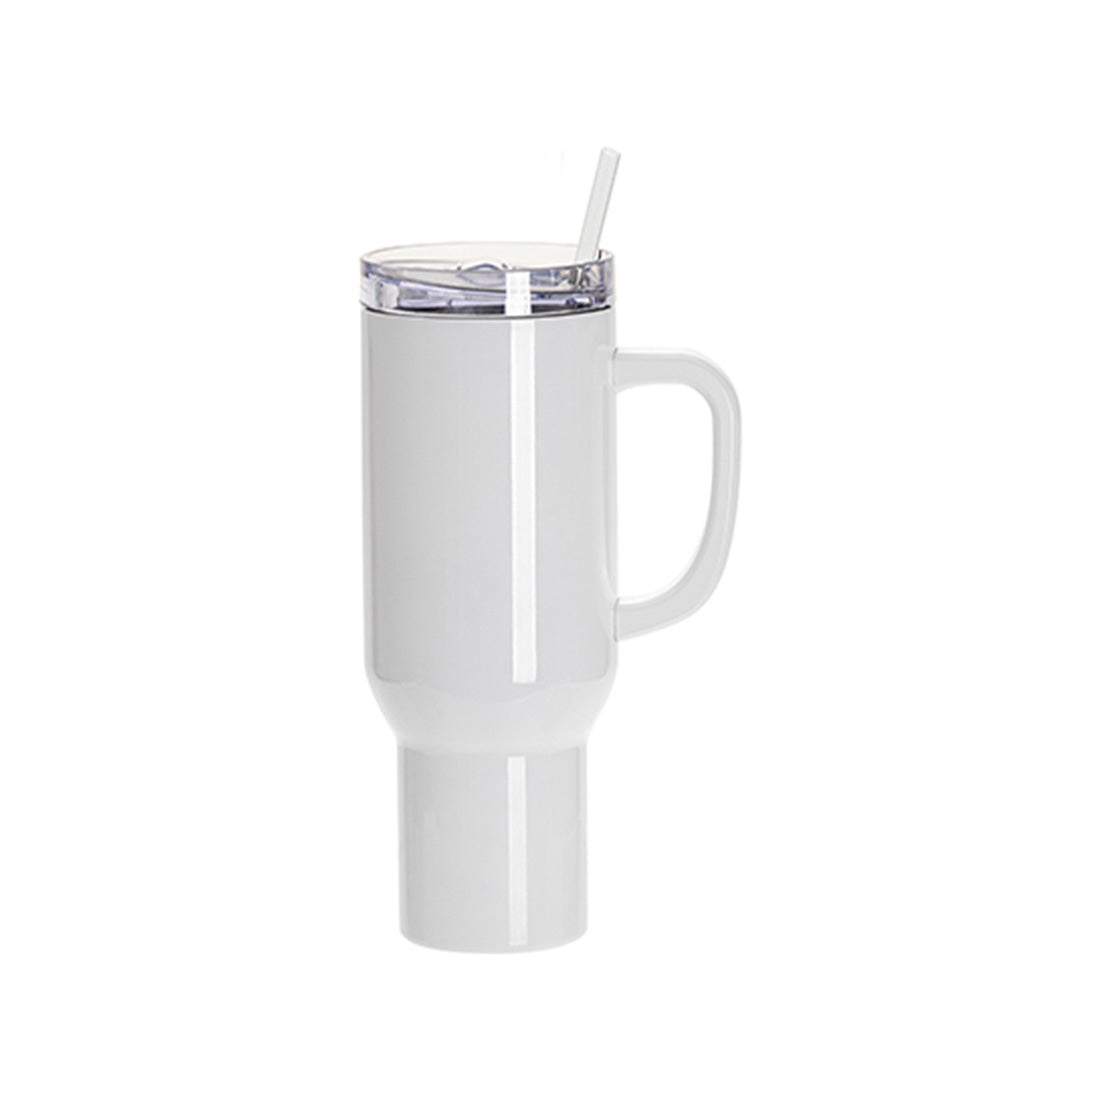
cylindrical objects such as mugs and water bottles are especially challenging when making your template as the surface is not flat. But you can always wrap a piece of paper around the surface and mark critical boundaries on the paper. Once the critical points are marked, you can easily measure out the dimension as the printable area is likely to be a rectangle.
Here’s an example of making a template from a travel mug white patch.

|
 |
 |
I have marked the corners with a pencil. Once marked, I can easily connect the crop marks to make a rectangular shape that I can measure with my ruler and input the template size in my graphics software.
Irregular shaped items
Ceramic ornaments with irregular shapes such as a star, heart, snowflake, etc. are items that you cannot measure with your ruler. However they can easily be traced or scanned in your copier. One method is to use a pencil and carefully trace the edges of the object. After tracing is complete, you can scan it into your computer.
It is recommended to use a scanner and not a camera. Scanners are more accurate because it keeps the sizing of the template consistent, whereas a camera doesn’t do a good job as taking pictures from different distances will change/affect the size of the template. It’s best to trace your object on paper and then scan it. Try to avoid placing the object directly on your scanner to scan as ceramic items may scratch the glass on your scanner. Once scanned use the pen tool or outline trace tool in your graphics design program to make your template.
Here are some examples below.

In this example, I have traced the heart ornament on a piece of paper.

Here is a scan of the iPhone cover with a black background from our scanner.
Tips and hints on making your own templates
Remember when you are finished scanning or measuring your template, make sure to add a bleed border to your template and to consider safe print areas. This will account for any tiny difference between the size of the substrate and the size of your template.
And finally here is a link to all of Joto’s imprintable blank templates.


