


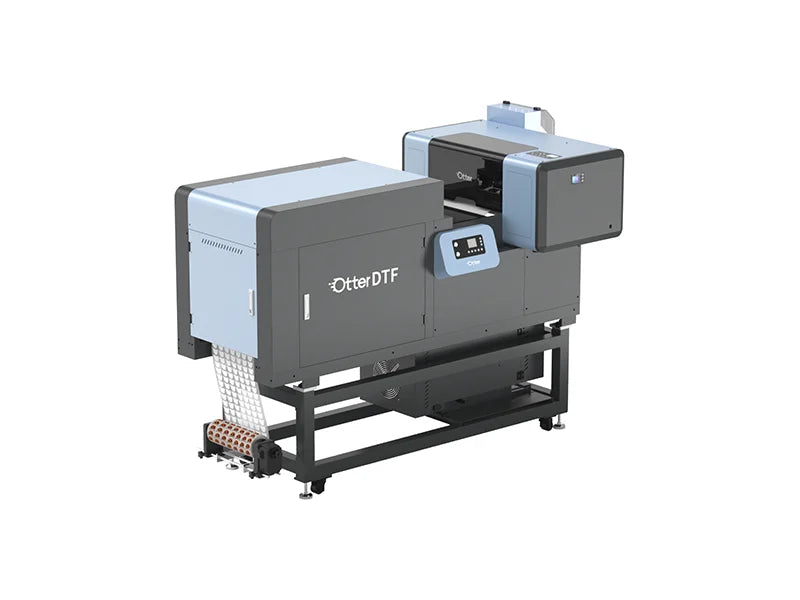


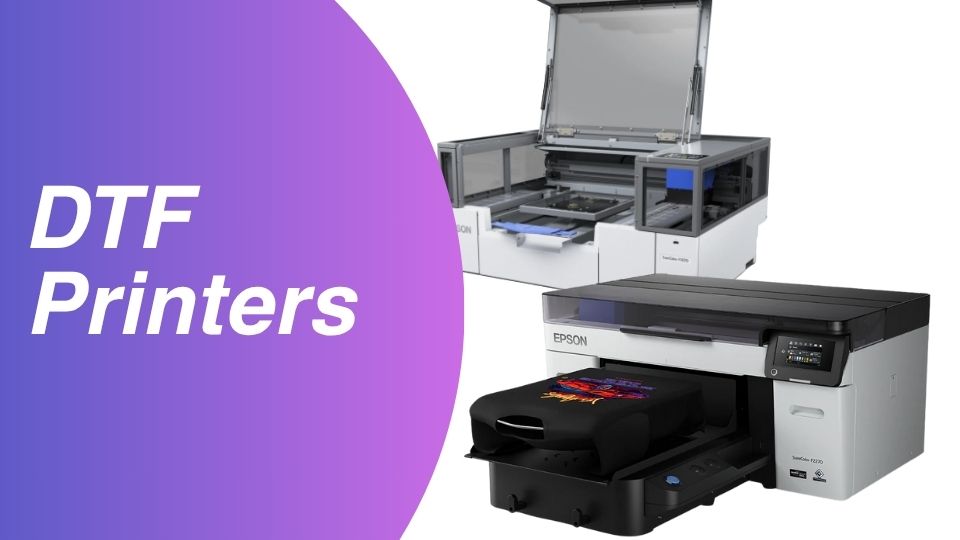


White ink maintenance is the single most important variable in DTF printer reliability. More DTF printer failures trace back to white ink neglect than any other cause, and the cost of skipping a five-minute daily routine is a printhead replacement that can run several hundred to over a thousand dollars.
This guide covers the complete white ink maintenance system for DTF printers: why white ink behaves differently from colour inks, what happens at each stage of failure, and the exact daily, weekly, and monthly routines that keep your printer producing clean transfers consistently.
Why White Ink Is Different From CMYK Inks

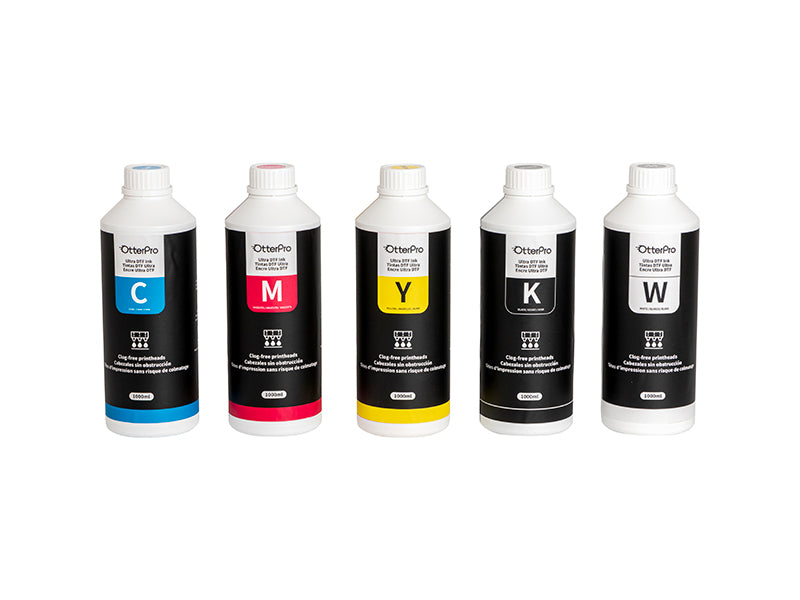
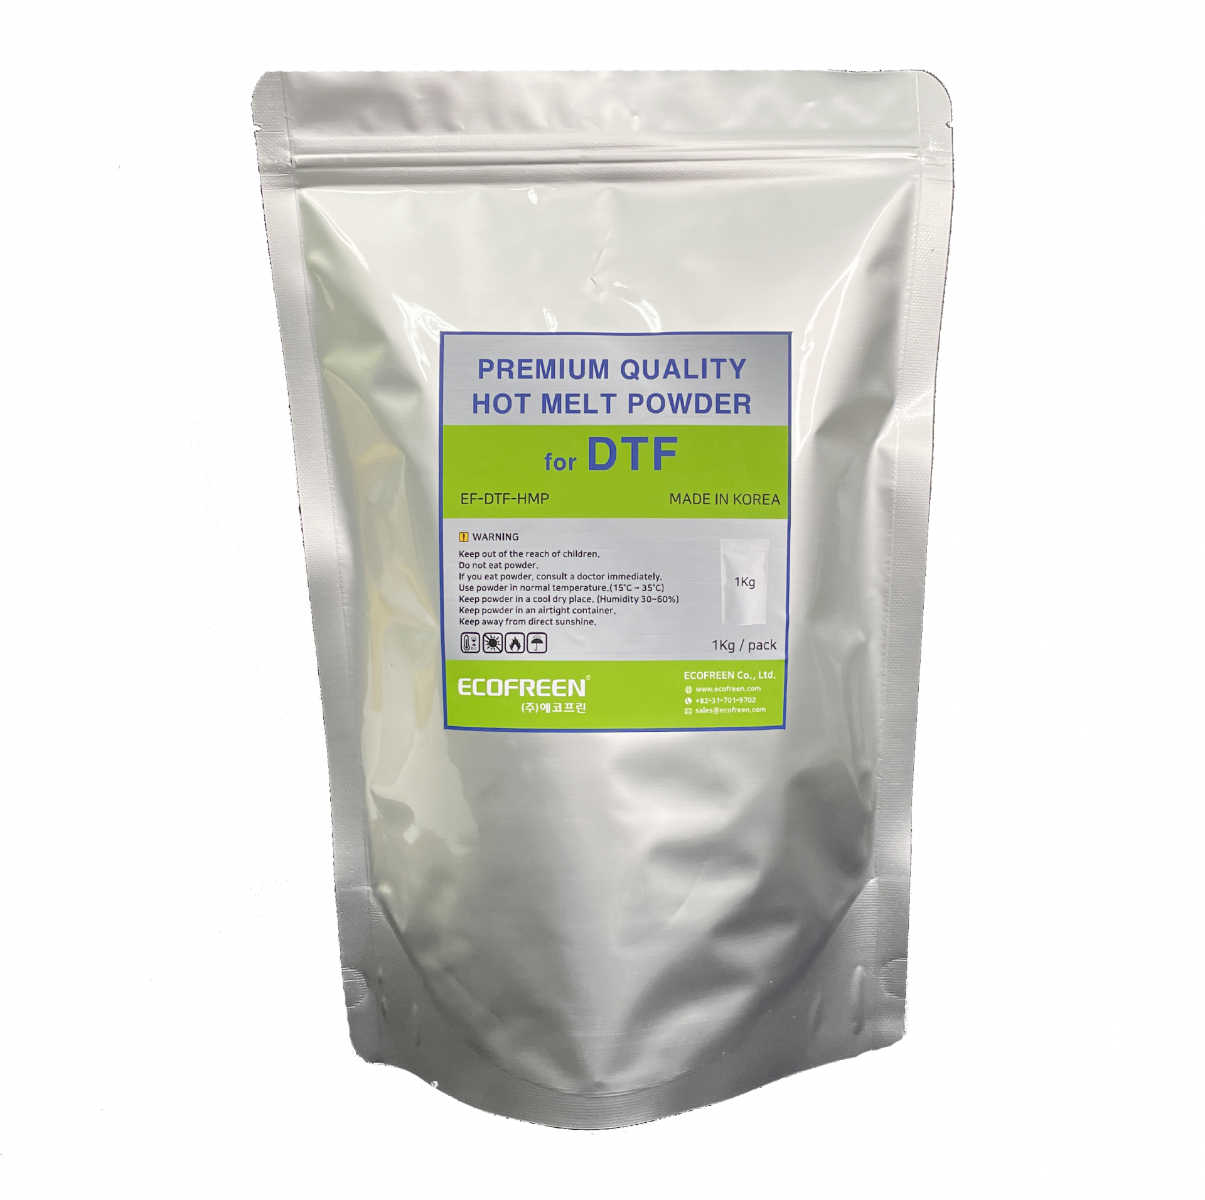
Understanding the chemistry behind white ink makes the maintenance requirements make sense. DTF white ink gets its opacity from titanium dioxide (TiO2) — a dense, heavy pigment that provides the white base layer needed for designs to read clearly on dark or coloured garments.
CMYK inks use dye-based or low-density pigment formulations that stay suspended in the liquid carrier for days without intervention. Titanium dioxide particles are significantly heavier and begin settling out of suspension within hours when the printer sits idle. Those particles sink to the bottom of cartridges, collect in damper chambers, and gradually coat printhead nozzles with a layer of dried pigment that restricts and eventually blocks ink flow.
This is not a defect or a quality issue with your ink. It is a predictable chemical property of any white ink used in DTF printing. The maintenance routines below are the operational response to that chemistry.
The Four Failure Points in a DTF White Ink System
White ink problems enter the system through four components. Each has distinct symptoms and requires specific maintenance attention.
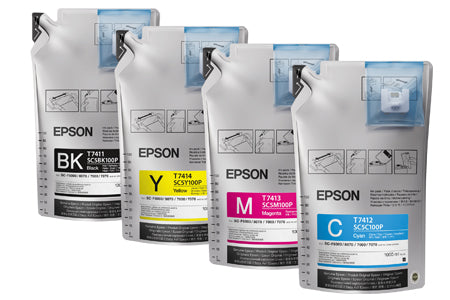
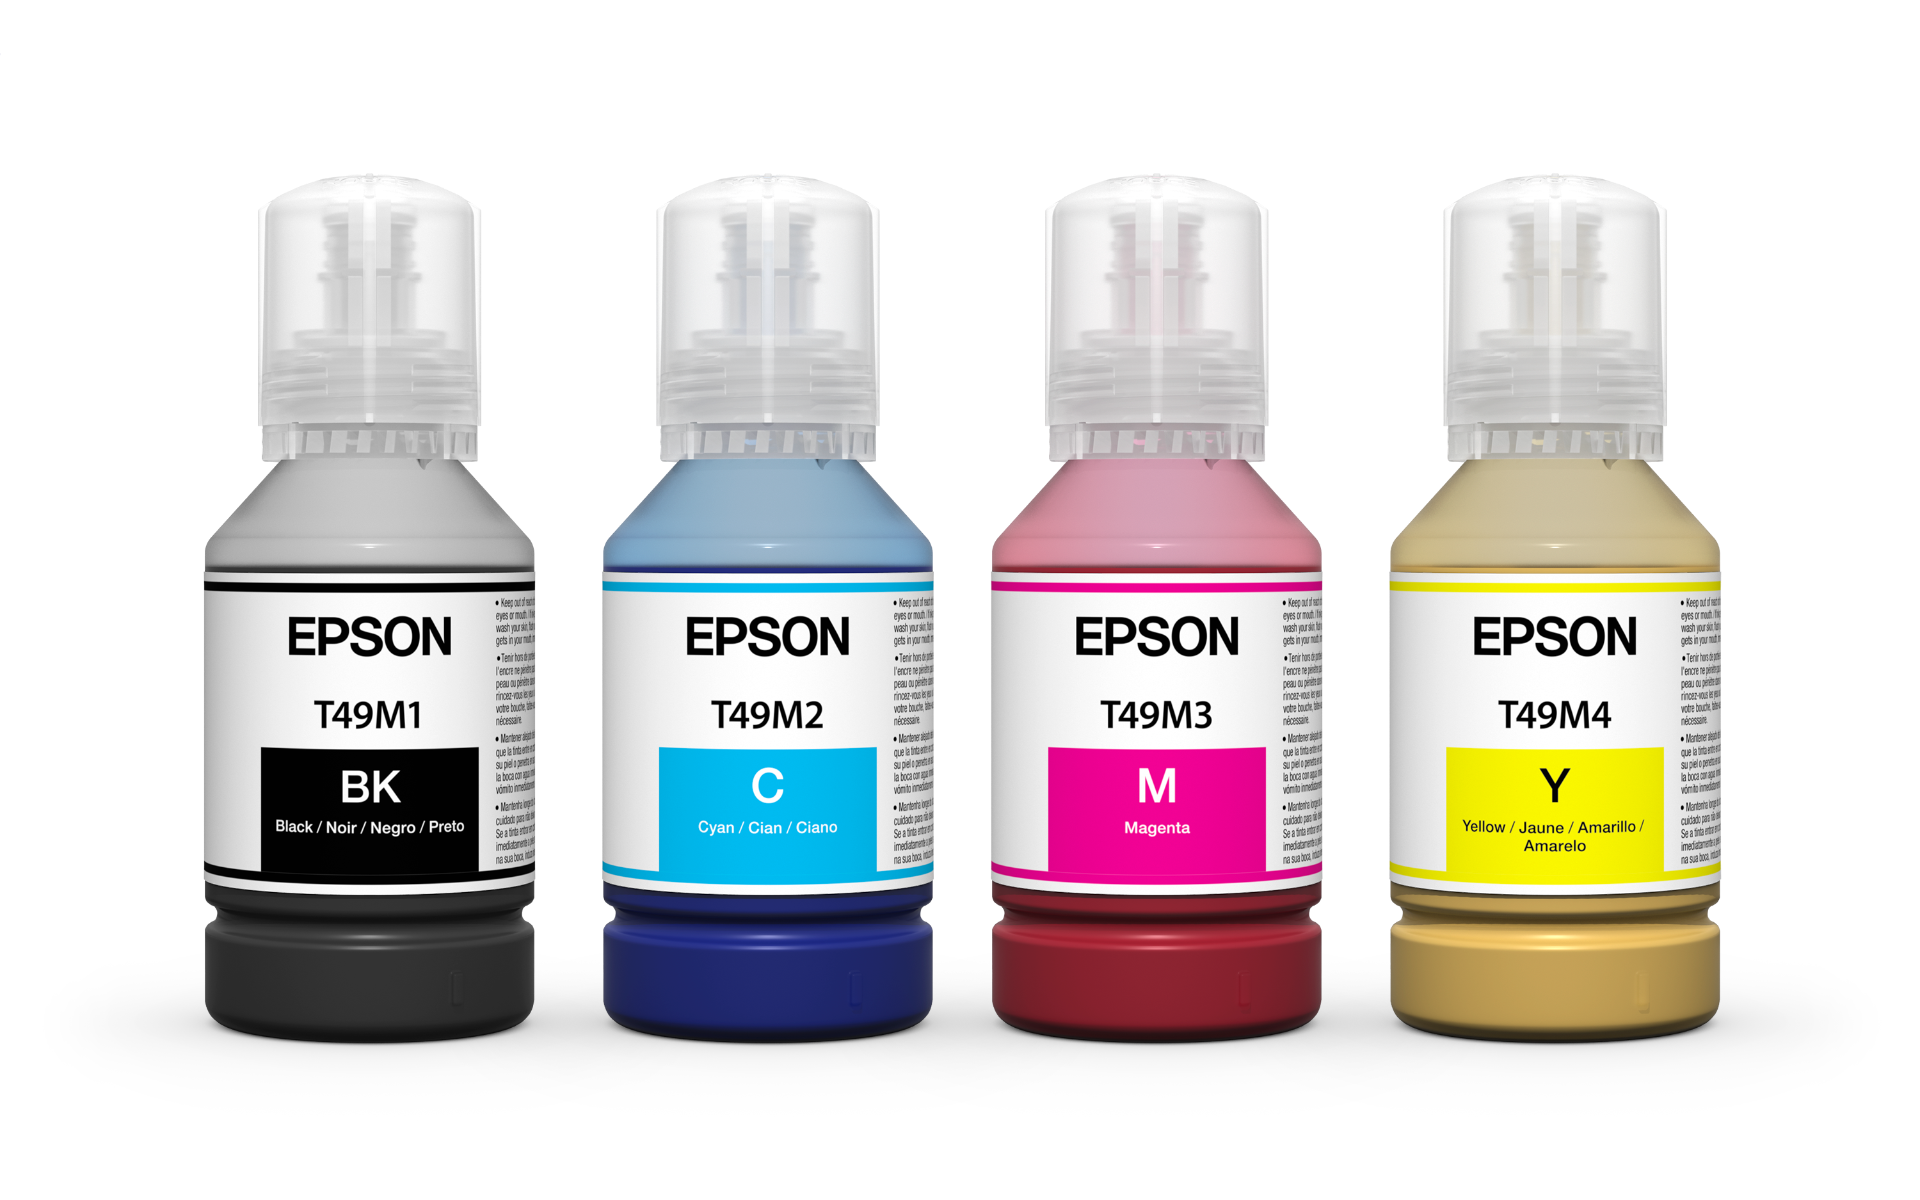
1. Ink Cartridge or Bottle
Sedimentation starts at the source. When titanium dioxide settles to the bottom of a cartridge or bulk bottle, the ink feeding into the line becomes gradually depleted of white pigment. Prints begin showing reduced opacity and inconsistent white coverage before a full clog develops. This is the earliest and most preventable failure point.
2. Ink Lines and Dampers
Settled particles that pass through the cartridge accumulate in the ink lines and dampers. Dampers act as a pressure buffer between the ink supply and the printhead, and their internal chambers collect sediment over time. A partially blocked damper reduces ink flow to the printhead, producing inconsistent white layers, banding, and colour channel misregistration in the white underbase.
3. Capping Station
The capping station seals the printhead when the printer is idle. White ink that dries on the capping station pad creates a hardened residue that prevents a clean seal. Poor capping means the printhead is exposed to air during idle periods, accelerating nozzle drying and increasing clog frequency.
4. Printhead Nozzles
The printhead is the most expensive component in the system and the last line of failure. Titanium dioxide particles that reach the printhead nozzles coat the micro-channels and restrict flow from specific nozzle groups. The result appears as banding, missing lines, or a complete white channel dropout on nozzle checks. At this stage, recovery requires cleaning cycles, manual cleaning procedures, or in severe cases, printhead replacement.
Daily Maintenance: The Five-Minute Routine
Daily maintenance is non-negotiable for white ink systems. The following tasks take five to ten minutes and prevent the majority of white ink failures.
Step 1: Agitate the White Ink
Before powering on your printer, manually agitate the white ink cartridge or bottle. For cartridges, remove the unit and rotate it end-over-end slowly for 15 to 20 seconds. This redistributes settled titanium dioxide particles back into suspension. Do not shake aggressively — the goal is gentle redistribution, not aeration. For bulk ink systems with circulation pumps, verify the circulation system is active before printing begins.

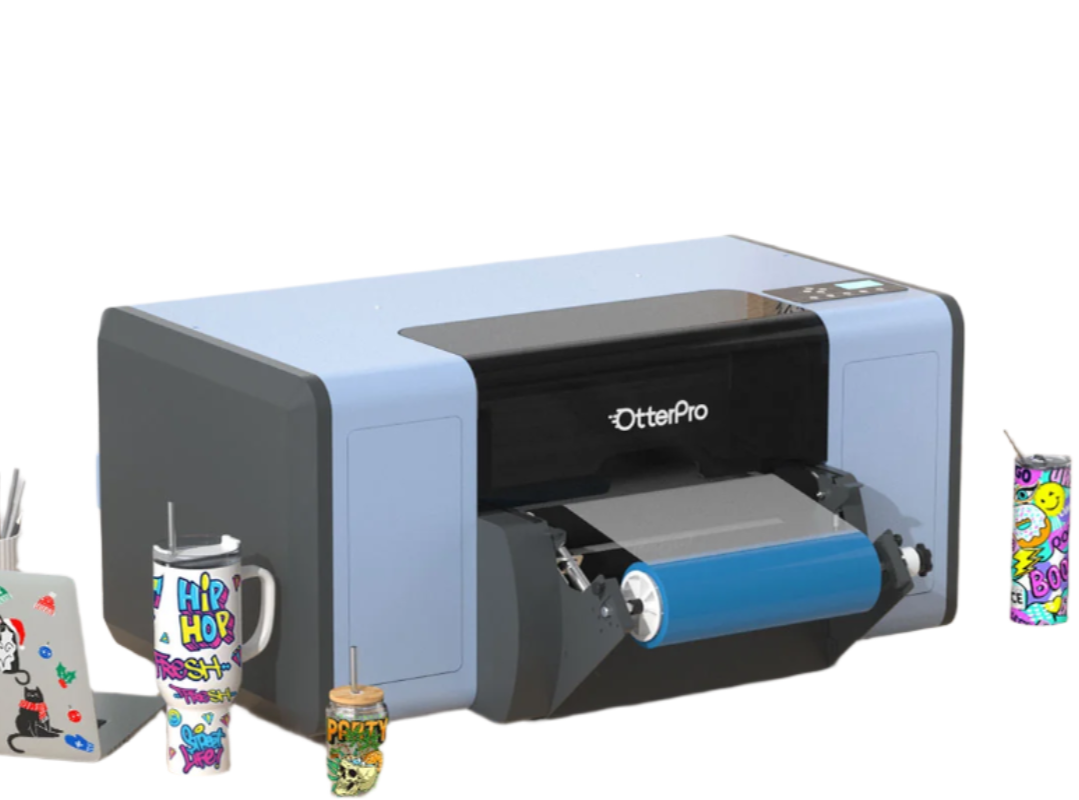
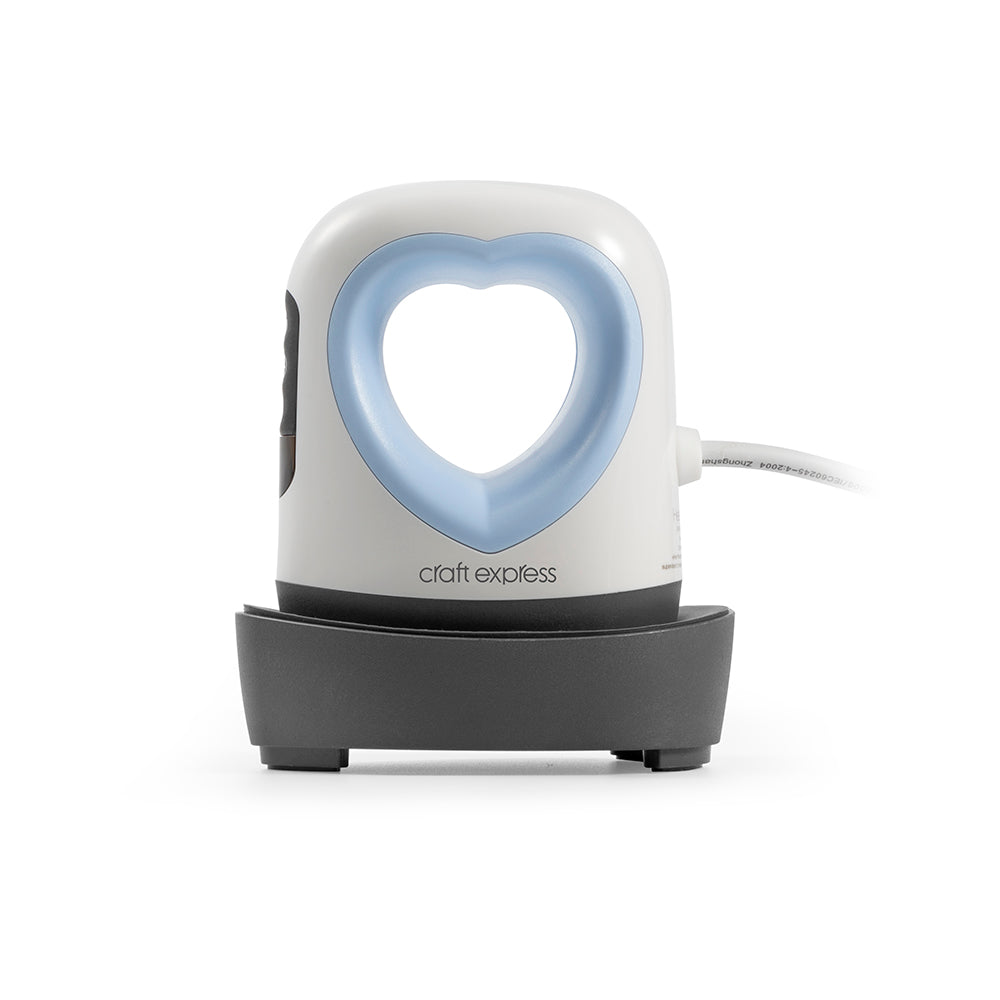
For shops running high print volumes or looking to eliminate the daily manual agitation step, an automatic ink shaker such as the OtterPro Ink Shaker handles this consistently without introducing the excess air bubbles that aggressive manual shaking can create. Compatible with 100 ml, 500 ml, and 1,000 ml DTF ink bottles, it fits most bulk ink setups used in production environments.
Step 2: Run a Nozzle Check
Print a nozzle check pattern from your printer's control panel or RIP software before processing any job. A clean nozzle check shows complete, unbroken lines across all channels including white. Any gaps, missing segments, or deflected nozzles in the white channel require cleaning cycles before production starts. Catching partial clogs at this stage costs one cleaning cycle. Catching them after a production run costs reprints, wasted film, wasted powder, and potentially a worsened clog.
Step 3: Clean the Capping Station and Wiper Blade
Use a lint-free foam swab dampened with DTF cleaning solution to wipe the capping station pad and wiper blade. Remove any white ink residue that has dried on these surfaces. A clean capping station maintains the seal that protects the printhead between print jobs and overnight. Never use paper towels or cotton swabs — both leave fibres that contaminate the printhead area.
Step 4: Monitor Ink Levels
White ink is consumed faster than CMYK in most DTF workflows because the white underbase layer requires full coverage across the entire design area, including areas that are not visible in the final transfer. Running white ink low causes air to enter the lines, which creates bubbles that produce banding and inconsistent opacity. Refill white ink before levels drop below 25 per cent.
Weekly Maintenance
Weekly tasks go deeper into the ink delivery system and address accumulation that daily cleaning does not reach.
Full Capping Station and Printhead Plate Cleaning
Perform a thorough cleaning of the capping station using DTF cleaning solution. Allow the solution to soak on any hardened residue for 30 to 60 seconds before wiping. Clean the printhead nozzle plate using a foam swab dampened with cleaning solution, wiping in a single direction without scrubbing back and forth. Scrubbing damages the nozzle plate coating over time.
Circulation System Inspection
For printers with built-in white ink circulation systems, check that the pump is running correctly and that circulation lines show no kinks, cracks, or blockages. Circulation systems reduce manual agitation requirements but do not eliminate them. Verify that the ink is flowing through the lines, not sitting static.
Print a Full White Coverage Test
Run a solid white fill print to check for even opacity across the full print width. Uneven white coverage at this stage indicates partial damper blockage or nozzle grouping issues that need to be addressed before they worsen.
Monthly Maintenance
Monthly procedures address the components that accumulate residue over weeks of operation.
Damper Inspection and Replacement
Dampers have a functional lifespan that varies based on ink volume and ink quality. Inspect dampers for discolouration, sediment accumulation, or physical deterioration monthly. Most manufacturers recommend damper replacement every three to six months under regular use. A failing damper is one of the most common sources of white ink inconsistency that does not respond to cleaning cycles.
Ink Line Flushing
Flush the white ink lines with DTF cleaning solution on a monthly basis to clear accumulated sediment. The procedure varies by printer model — consult your printer's maintenance documentation for the correct flush sequence. Improper flushing can introduce air bubbles into the system, so follow the manufacturer process precisely.
Environmental Check
Review the operating environment of your printer. DTF printheads are highly sensitive to low humidity. Dry conditions cause ink to dry on the nozzle plate faster, increasing clog frequency. Maintain workspace humidity between 55 and 65 per cent. In winter months in Canadian facilities, indoor heating significantly reduces ambient humidity — a small humidifier near the printer compensates effectively.
White Ink Maintenance by Printer Type
| Printer Type | White Ink System | Daily Agitation Required | Circulation System | Risk Level Without Maintenance |
|---|---|---|---|---|
| Entry-level DTF (modified desktop) | Manual cartridge | Yes – remove and rotate | None | High |
| Mid-range purpose-built DTF | Bulk ink with manual agitation | Yes – rotate bottle | Optional | Medium-High |
| Production DTF with circulation | Bulk ink with automatic circulation | Verify circulation active | Built-in | Medium |
| Industrial DTF | High-capacity bulk with automated circulation and monitoring | System check only | Built-in with monitoring | Low (when maintained) |
Common White Ink Maintenance Mistakes
Turning off the printer for extended periods without flushing. When a DTF printer sits powered off for more than 24 to 48 hours, the white ink in the lines and printhead begins to dry. Before any extended downtime, run a cleaning flush to clear white ink from the lines and replace it with cleaning solution. This is the maintenance step most commonly skipped — and the one most likely to cause severe clogs on restart.
Using the wrong cleaning materials. Paper towels leave fibres that contaminate the printhead. Cotton swabs do the same. Generic isopropyl alcohol at concentrations above 90 per cent can damage printhead coatings. Use polyurethane foam swabs and cleaning solution formulated specifically for DTF ink chemistry.
Running aggressive cleaning cycles without checking for air bubbles. Multiple consecutive power cleaning cycles consume significant ink and can introduce air into the lines. If two standard cleaning cycles do not clear a nozzle check, move to manual cleaning procedures rather than continuing to run power cleans.
Neglecting maintenance on low-volume days. The assumption that light printing means less maintenance need is incorrect. A printer that runs only a few jobs still requires the same daily routine. White ink settles based on time, not print volume.
Using expired or improperly stored white ink. White ink has a shelf life, and titanium dioxide suspension stability degrades with age. Ink stored in temperature extremes or exposed to direct sunlight separates more aggressively. Store white ink at room temperature, out of direct light, and use within manufacturer-specified timeframes.
Frequently Asked Questions
How often should I shake or agitate my DTF white ink?
Agitate white ink cartridges or bottles every day before printing, and any time the printer has been idle for more than a few hours. For bulk ink systems with circulation pumps, verify the circulation system is active daily. The goal is to keep titanium dioxide particles suspended in the liquid carrier before they reach the ink lines and printhead.
What causes white banding in DTF transfers?
White banding is typically caused by partial nozzle clogging in the white ink channel. The bands correspond to nozzle groups that are firing inconsistently or not firing at all. Run a nozzle check to identify the extent of the issue, then run one to two standard cleaning cycles and recheck. If banding persists, check damper condition and perform a manual capping station cleaning before attempting further cleaning cycles.
Can I leave DTF white ink in the printer overnight?
Yes, provided the printer has a functioning capping station that seals the printhead correctly and the white ink circulation system (if equipped) runs on a scheduled basis overnight. For short periods of one to three days, this is standard practice. For periods longer than three days without printing, flush the white ink from the lines and replace with cleaning solution.
How do I know when my dampers need replacing?
Dampers that need replacement typically produce symptoms including inconsistent white ink opacity, banding that does not respond to cleaning cycles, or visible discolouration and sediment when inspected. Most manufacturers recommend inspection monthly and replacement every three to six months depending on print volume. Dampers are low-cost consumables compared to printhead replacement — replacing them on schedule is cost-effective maintenance.
What is the right humidity level for a DTF printing environment?
Maintain workspace humidity between 55 and 65 per cent. Below 50 per cent, ink dries on printhead nozzles faster, increasing clog frequency significantly. In Canadian facilities during heating season, indoor humidity regularly drops well below 50 per cent — monitoring humidity and using a humidifier near the printer is a practical preventative measure that reduces cleaning cycle frequency.