


Aluminum photo panels are gaining popularity among photographers, artists, and businesses that create personalized gifts due to their exceptional image quality, vivid colors, and impressive durability. Unlike traditional print methods, sublimation on aluminum transfers inks directly into the panel's specially coated surface using heat and pressure, resulting in strikingly vibrant and durable images that resist fading, peeling, and scratching.
In this comprehensive guide, we'll show you exactly how to sublimate aluminum photo panels for professional results. Designed explicitly for sublimation, these panels produce remarkably sharp and vivid images. You'll discover the required tools, design preparation steps, heat press setup, and how to achieve consistently outstanding results.
Whether you're new to sublimation or already experienced, this tutorial provides a detailed, step-by-step approach to ensure your success. At Joto Imaging Supplies, we've been helping print shops and makers achieve professional results for over 37 years, and we're sharing that expertise with you today.
Why Aluminum Panels Are Perfect for Sublimation
Before diving into the technical process, it's worth understanding why aluminum panels have become the preferred choice for professional photographers and print shops. When properly sublimated, the image becomes part of the panel's coating rather than sitting on top of it, creating prints that resist scratching, moisture damage, and UV fading for decades.
The surface coating on sublimation-ready aluminum panels is specifically engineered to accept sublimation dyes at the molecular level. This creates color saturation and sharpness that's virtually impossible to achieve with other printing methods. From a business perspective, aluminum panels command premium pricing for gallery displays, corporate artwork, real estate photography, and high-end personalized gifts.
What You Need: Essential Tools and Materials

To achieve excellent results, assemble the correct materials and equipment. High-quality tools ensure professional outcomes and reduce the risk of errors. Here's what you'll need:
Sublimation-Ready Aluminum Photo Panels
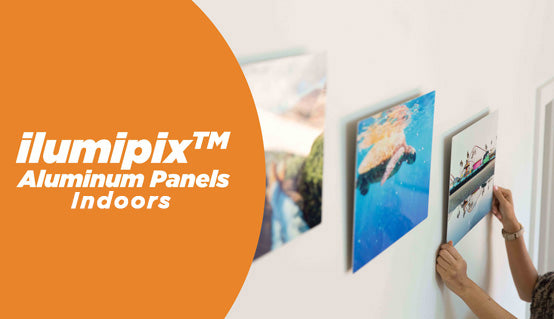
Select specially coated aluminum panels designed explicitly for sublimation, such as ilumipiX™ HD Photo Panels, which offer vibrant colors, exceptional detail, and excellent durability. Sizes range up to 48" x 96".

Critical reminder: Always peel off the protective film from the panel before sublimation. This is one of the most common mistakes that ruins otherwise perfect prints.
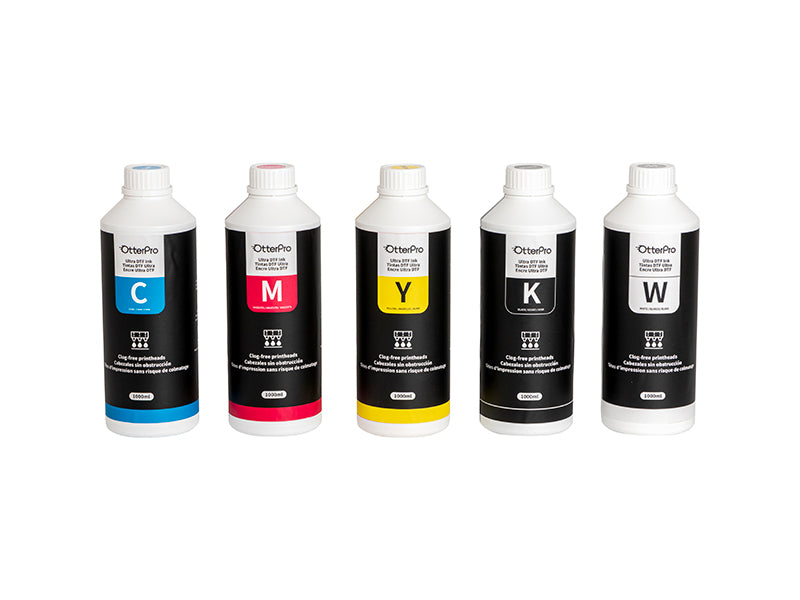
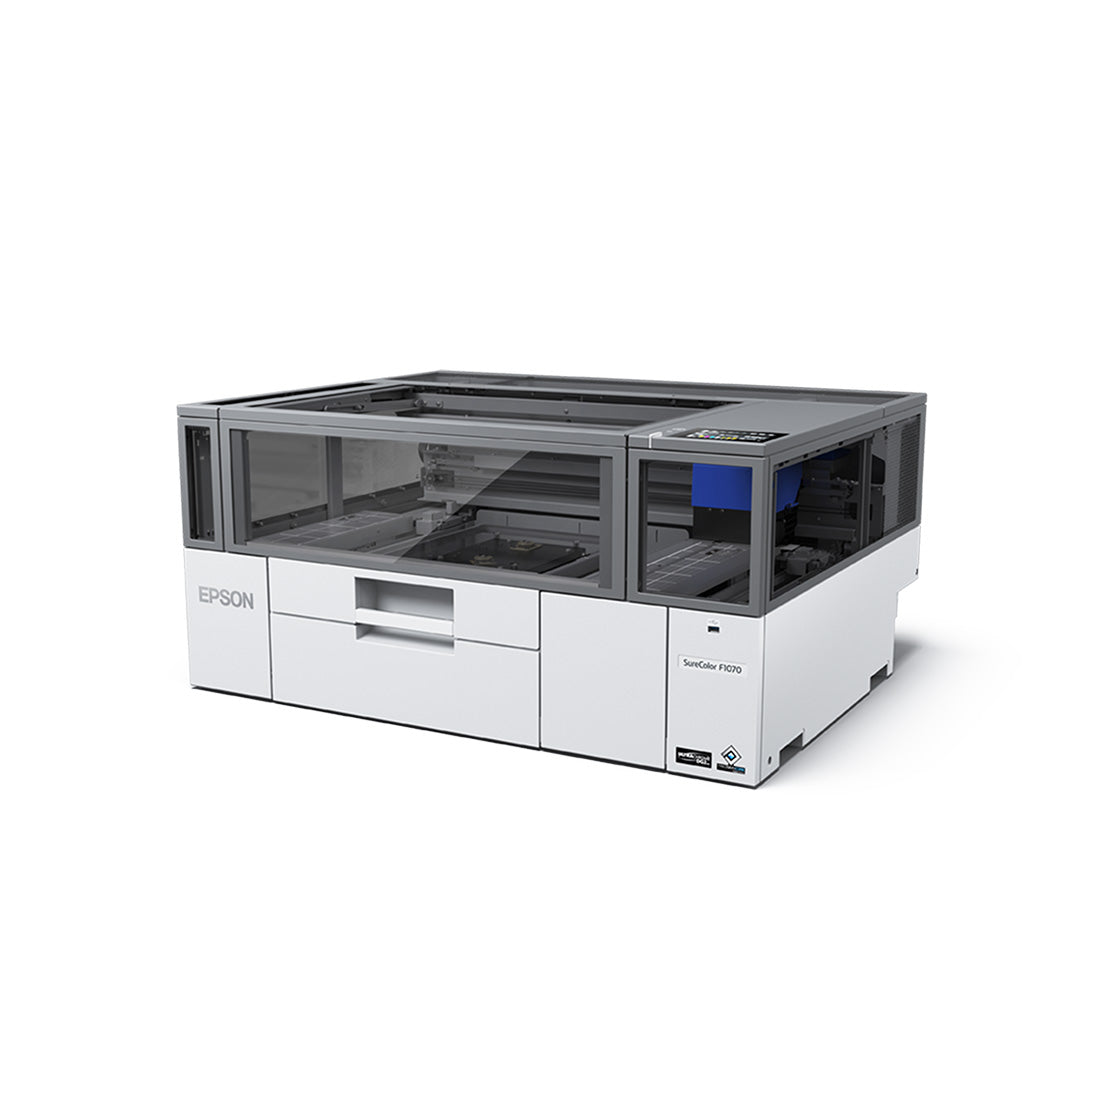
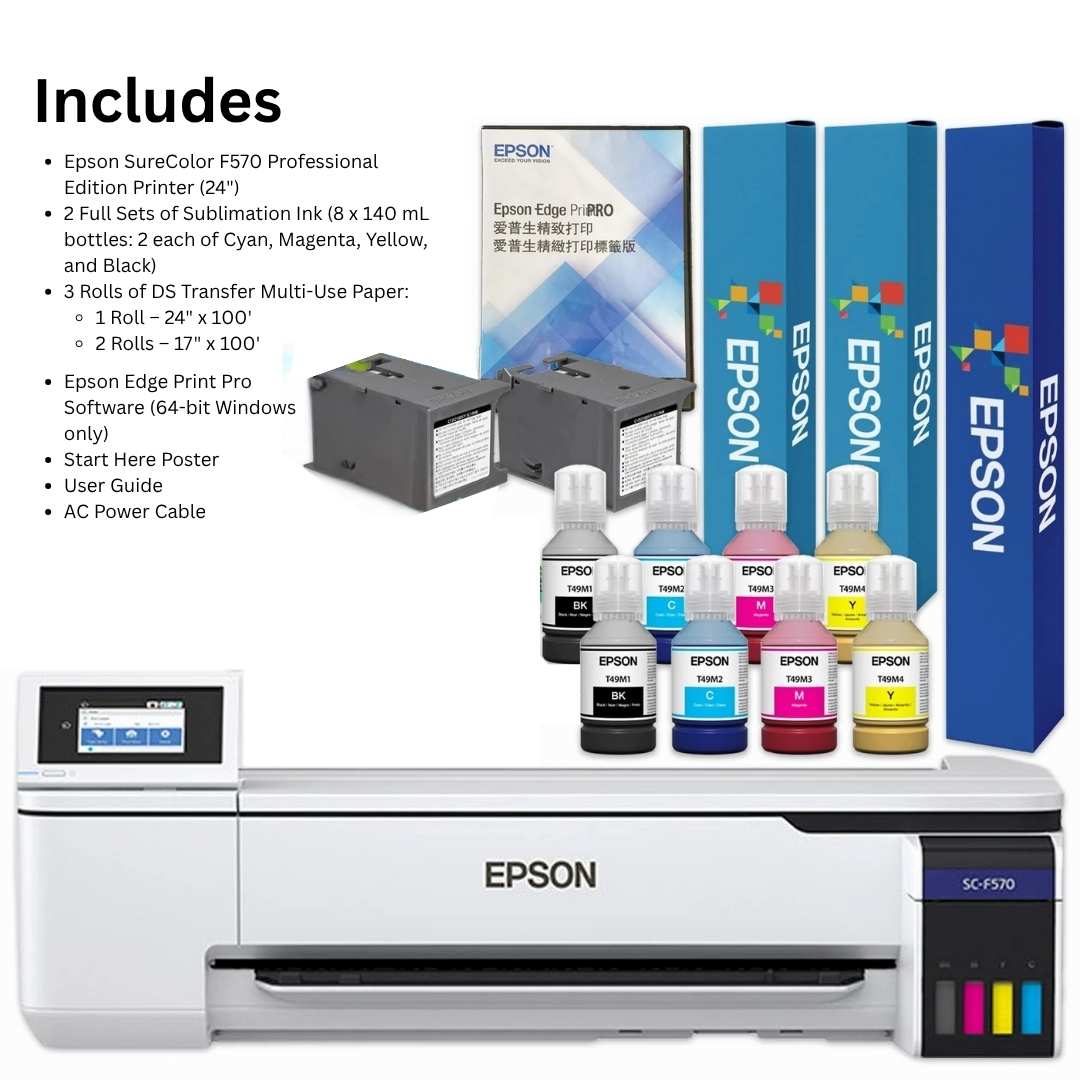
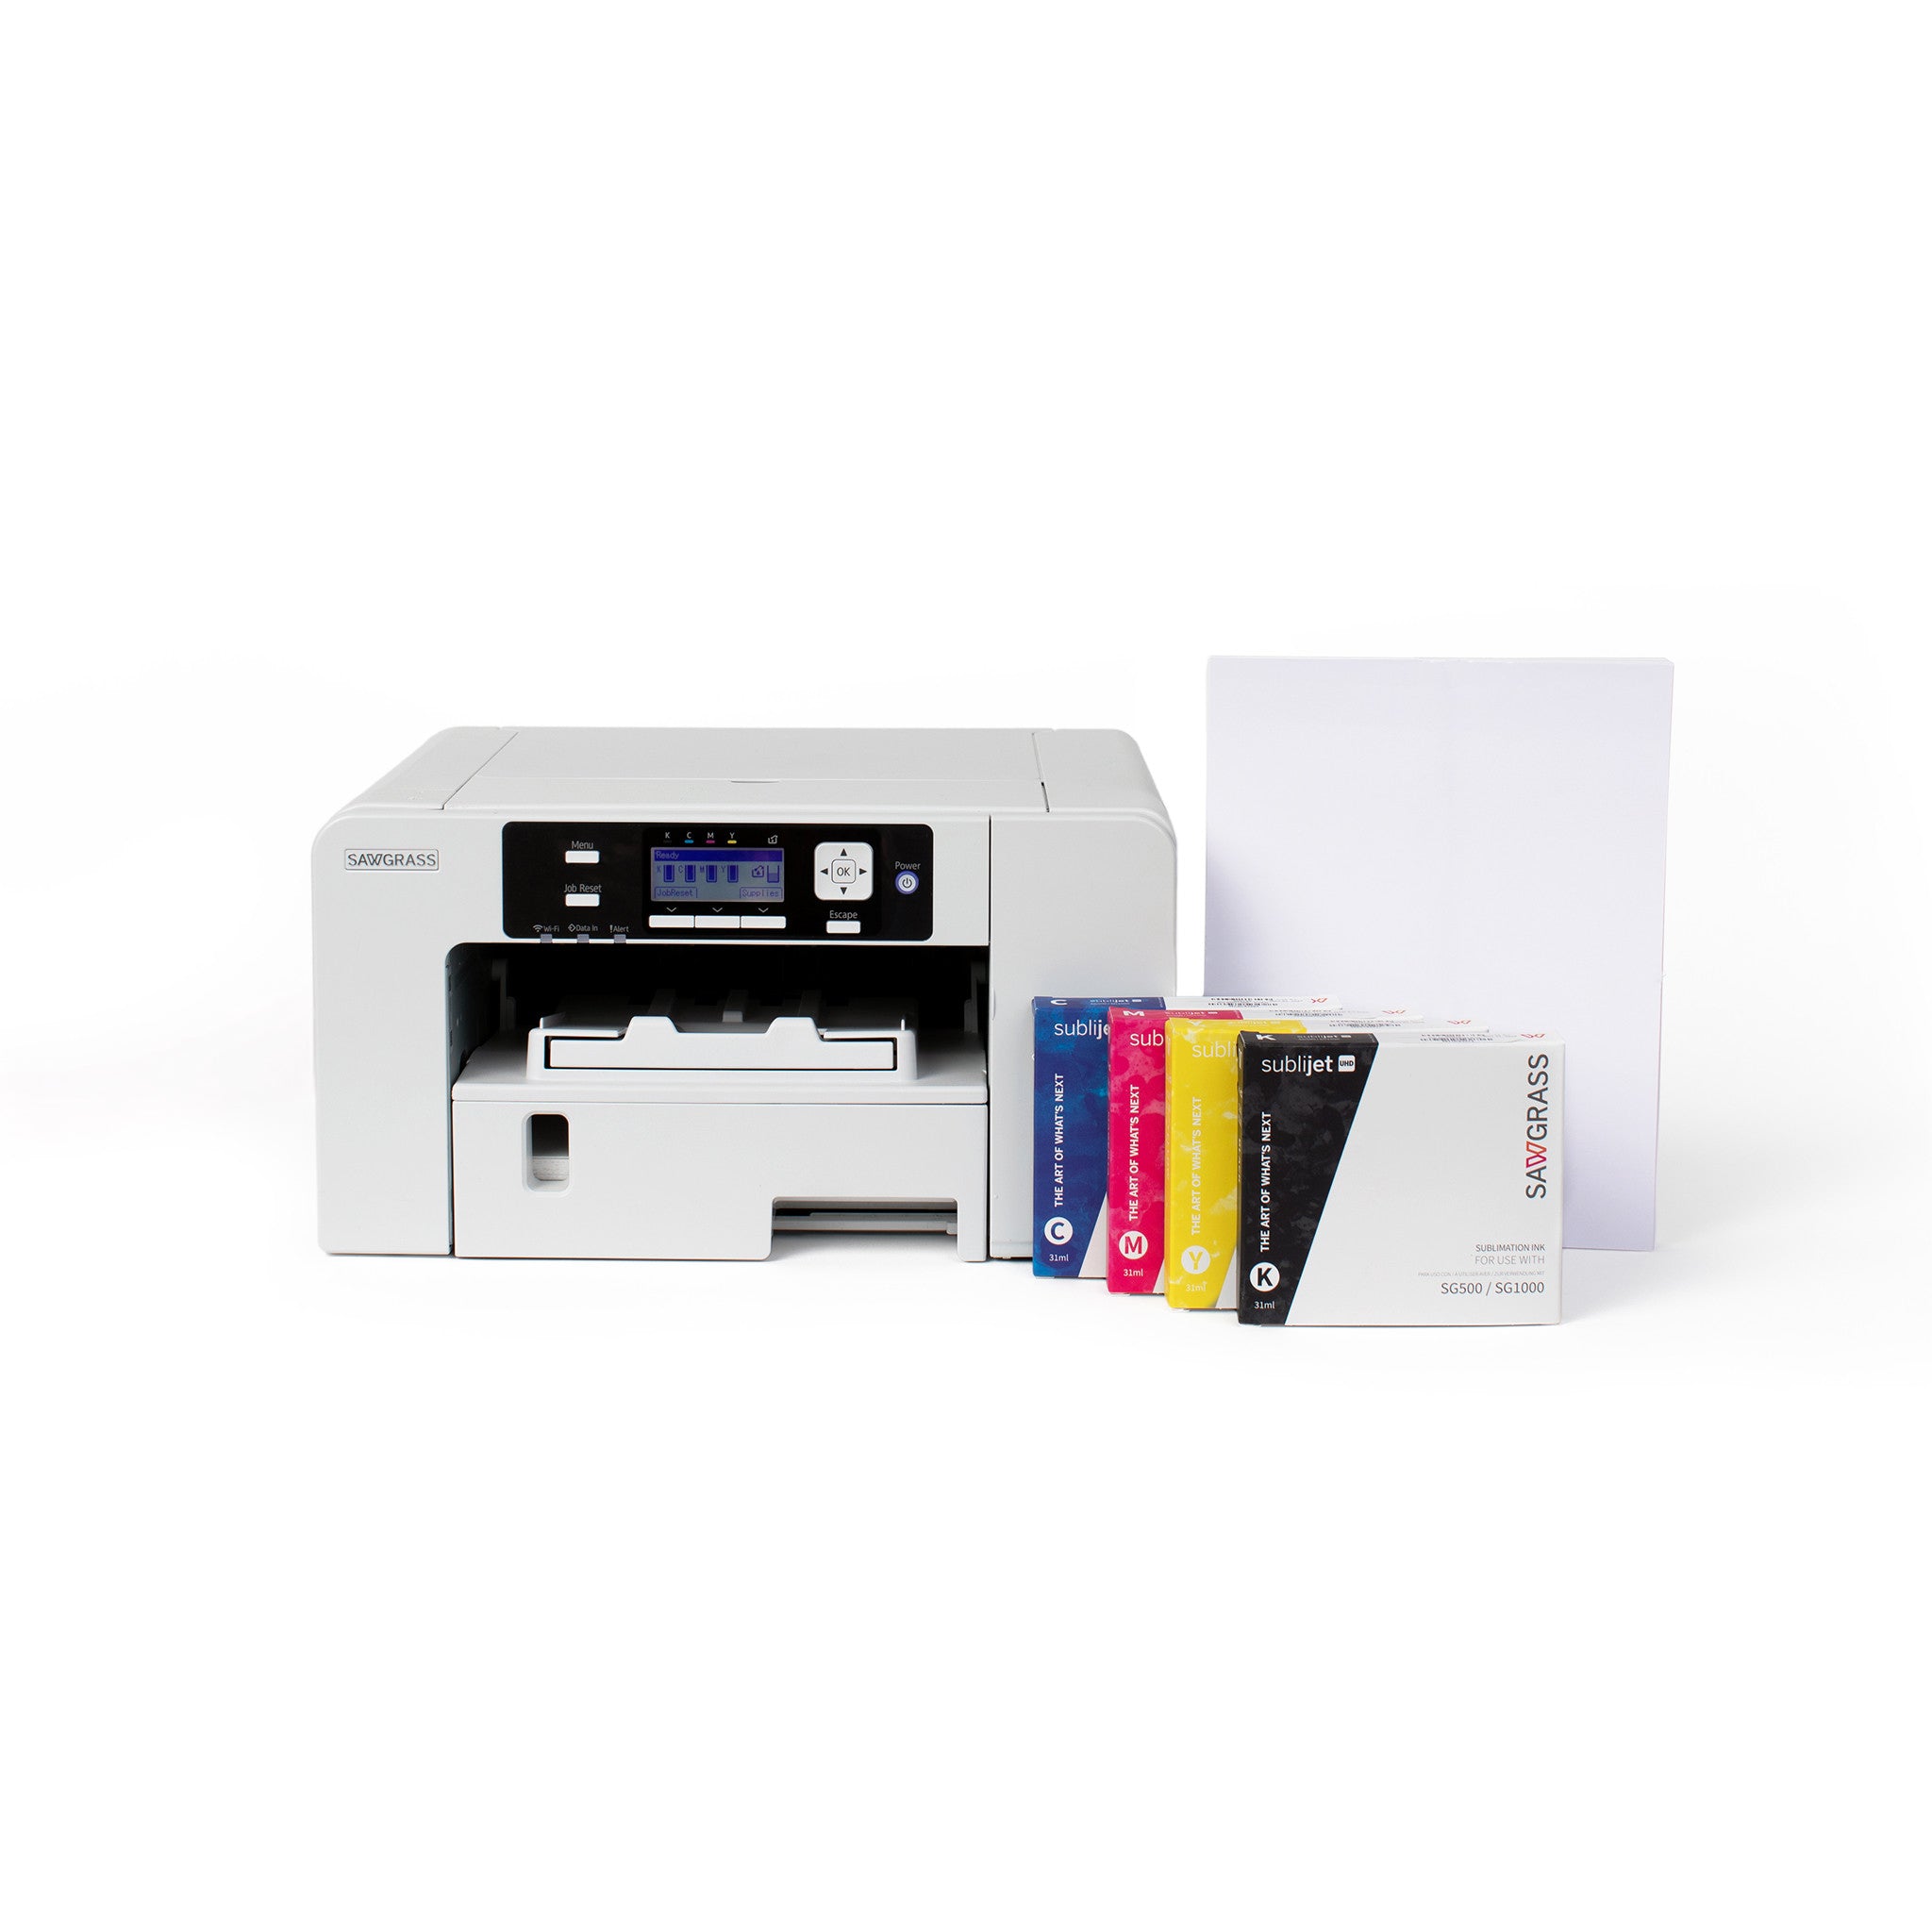
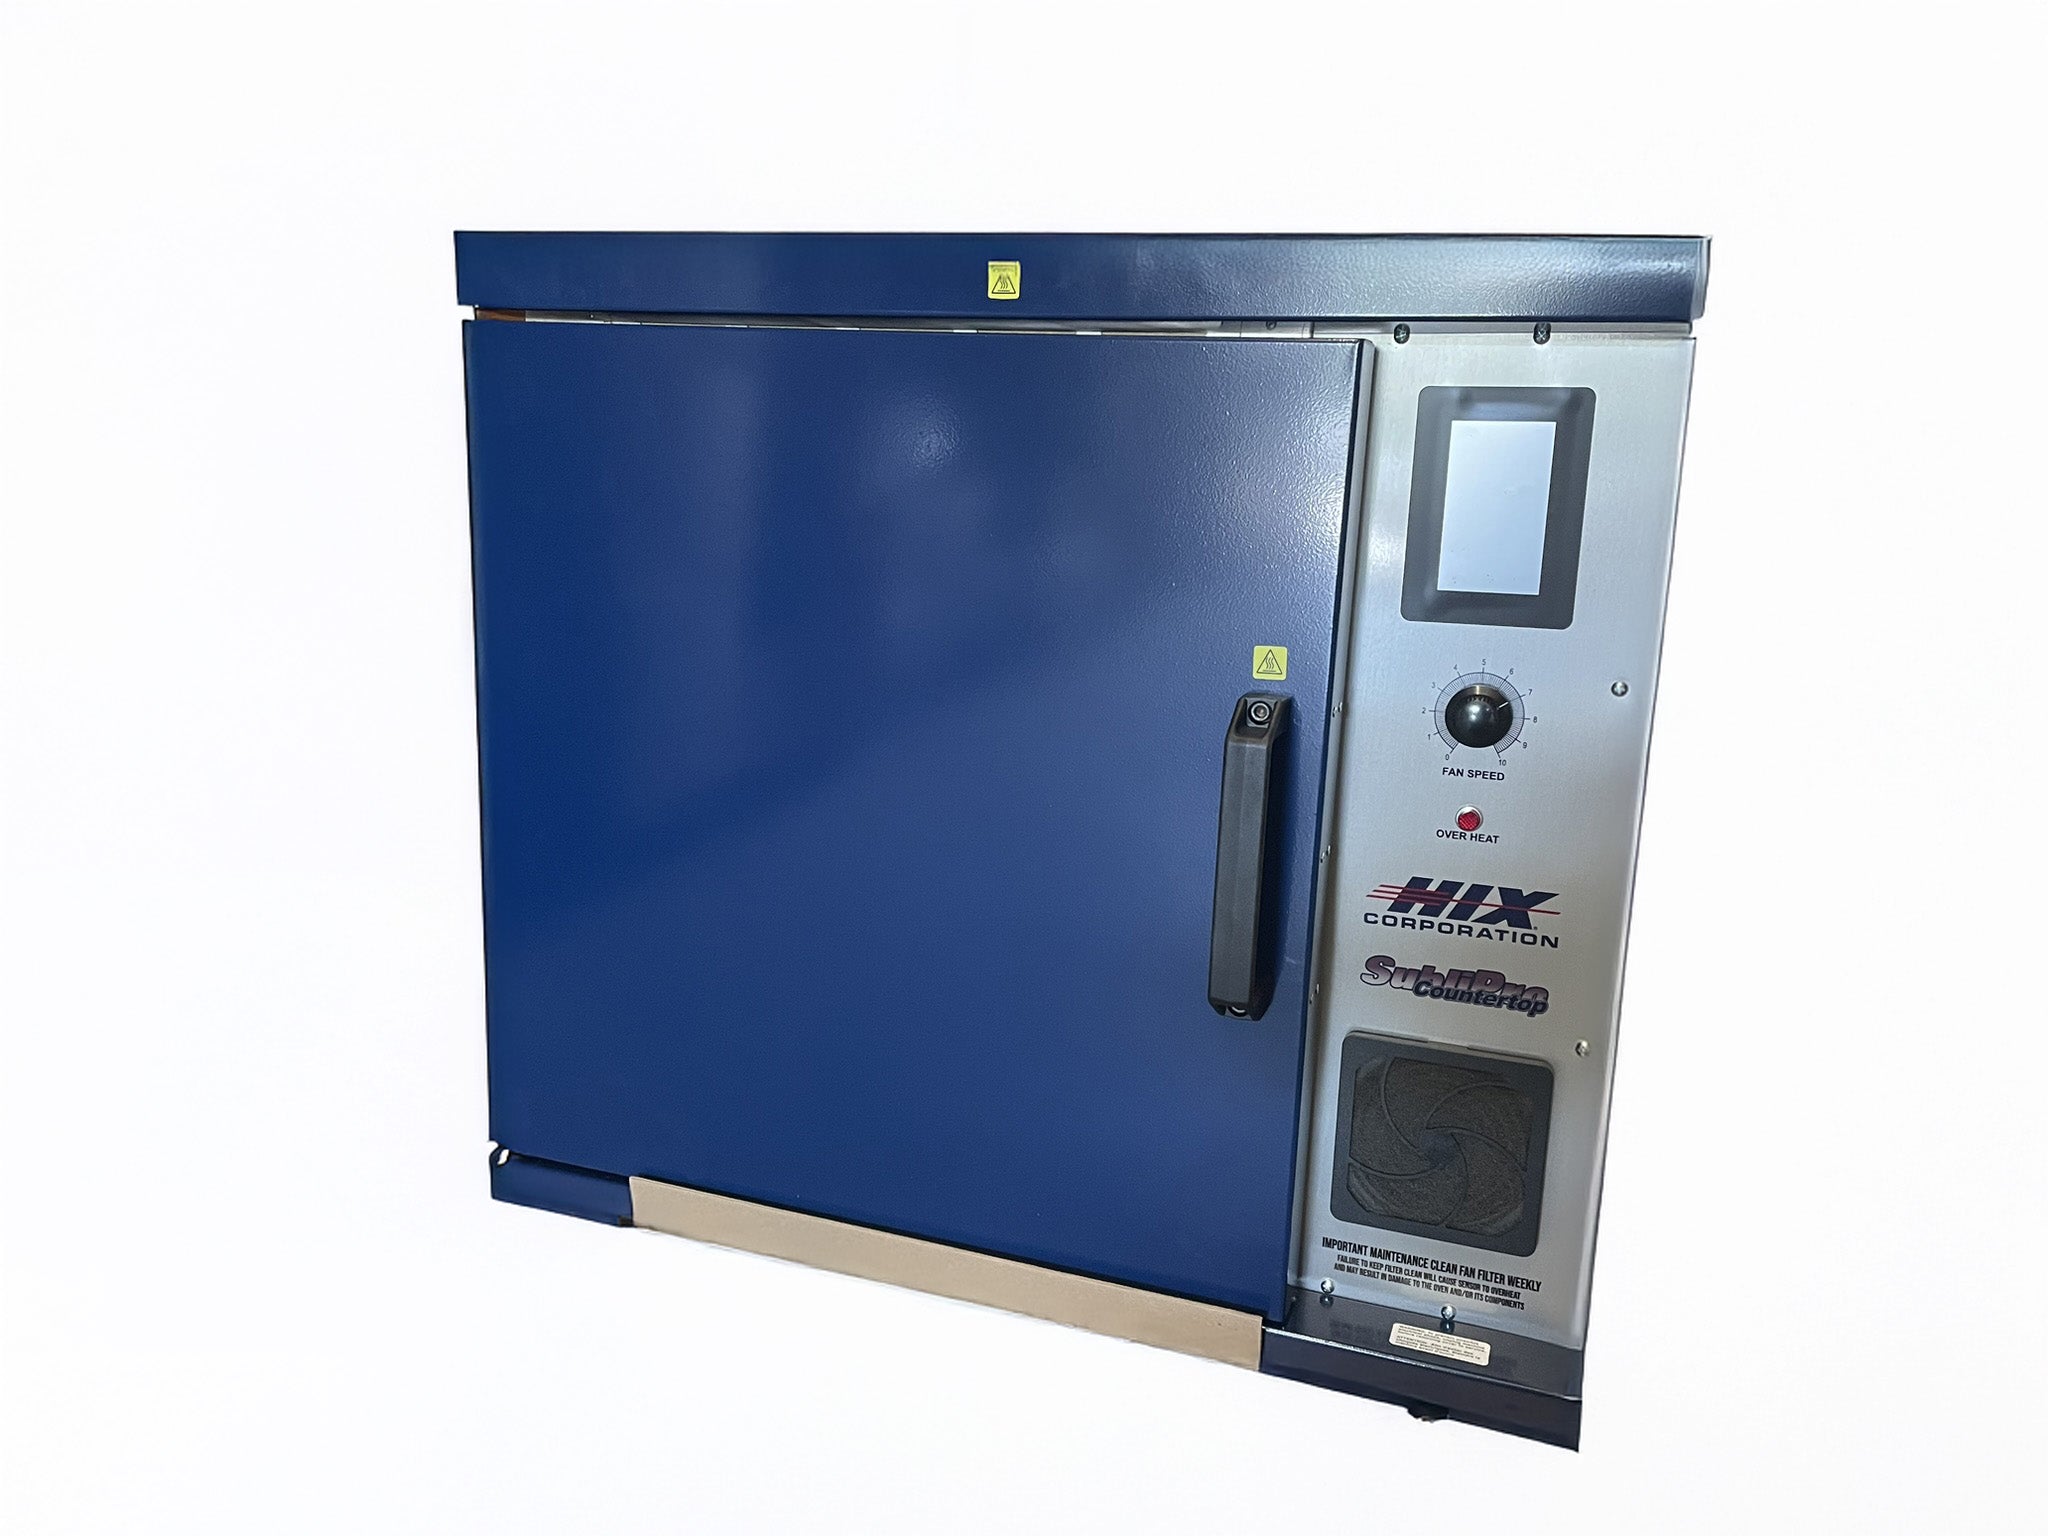
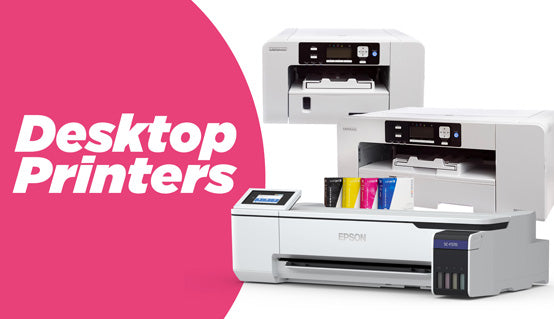
Sublimation Printer and Inks
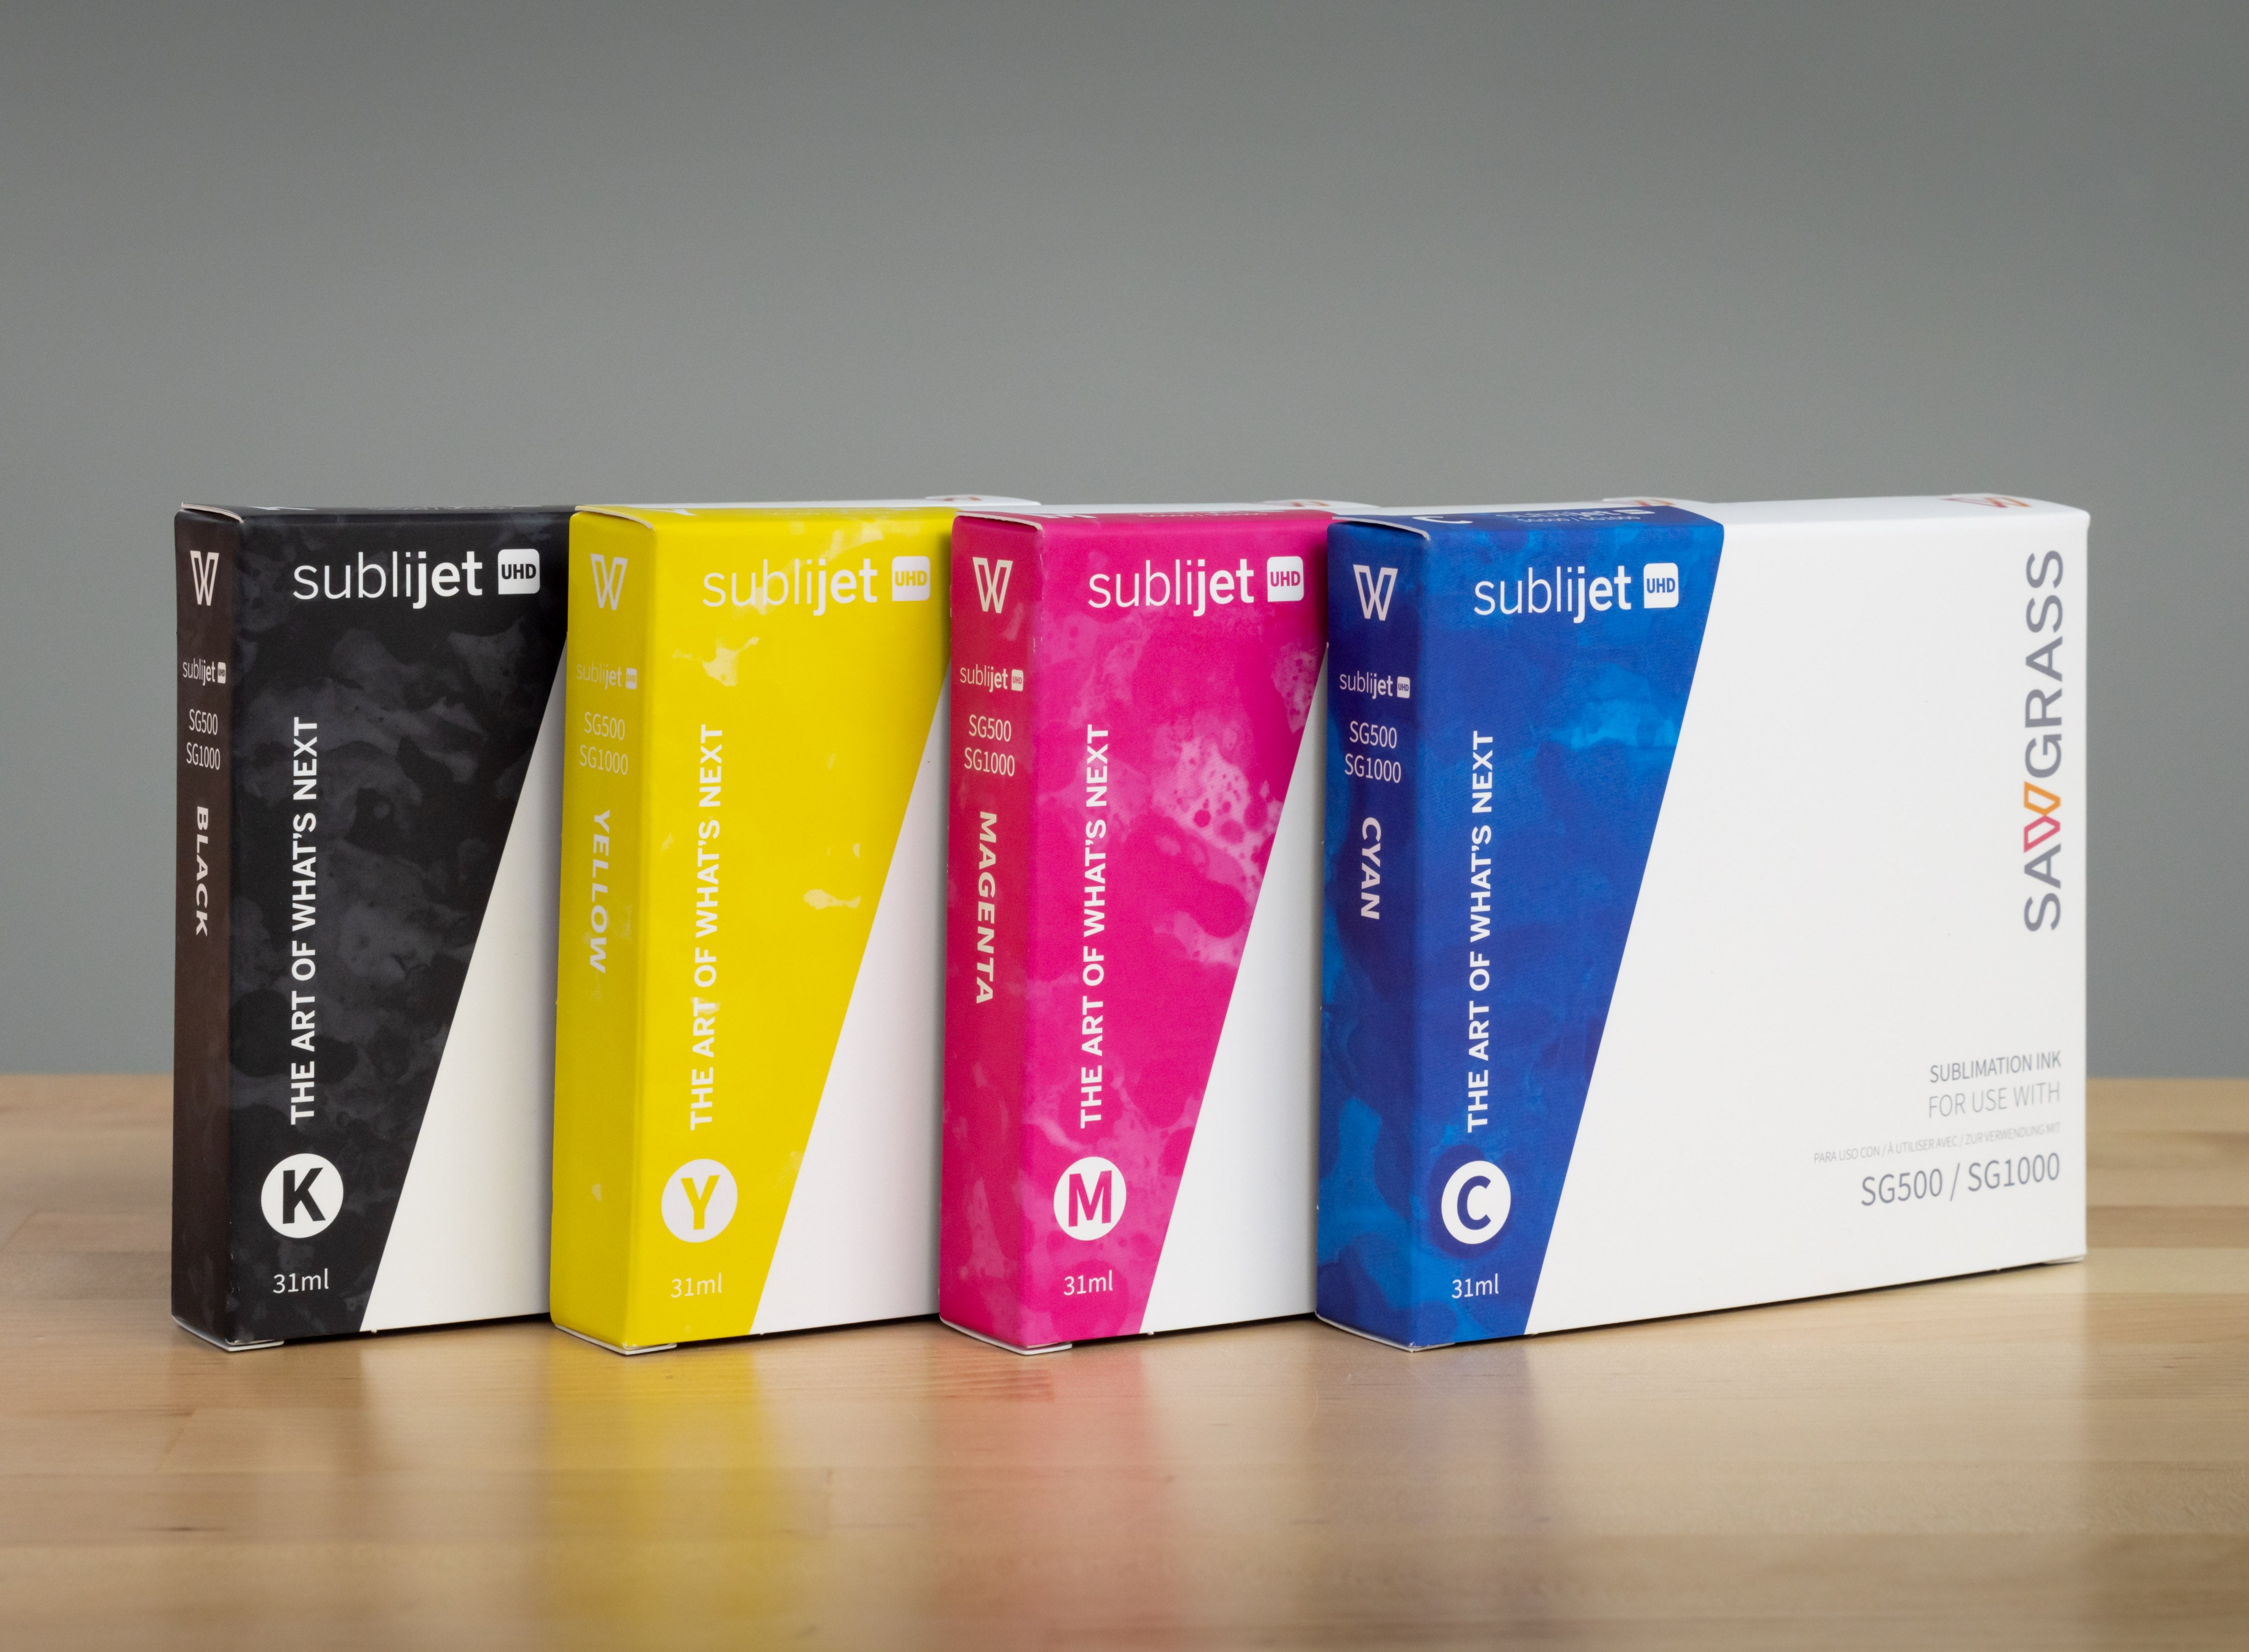
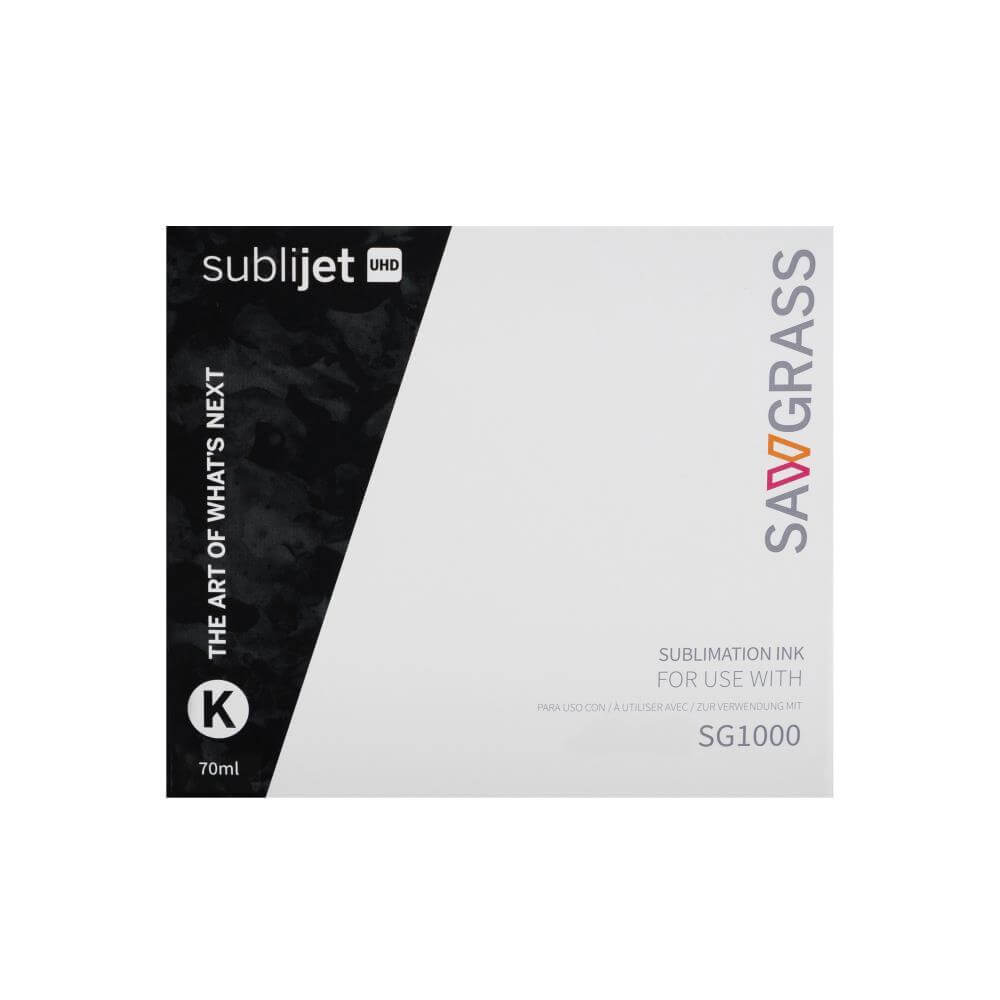
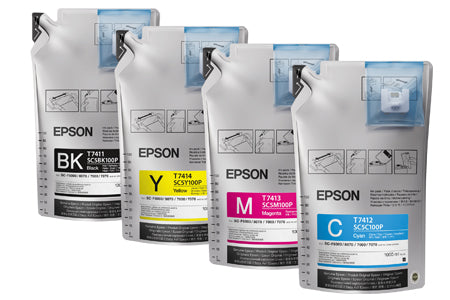
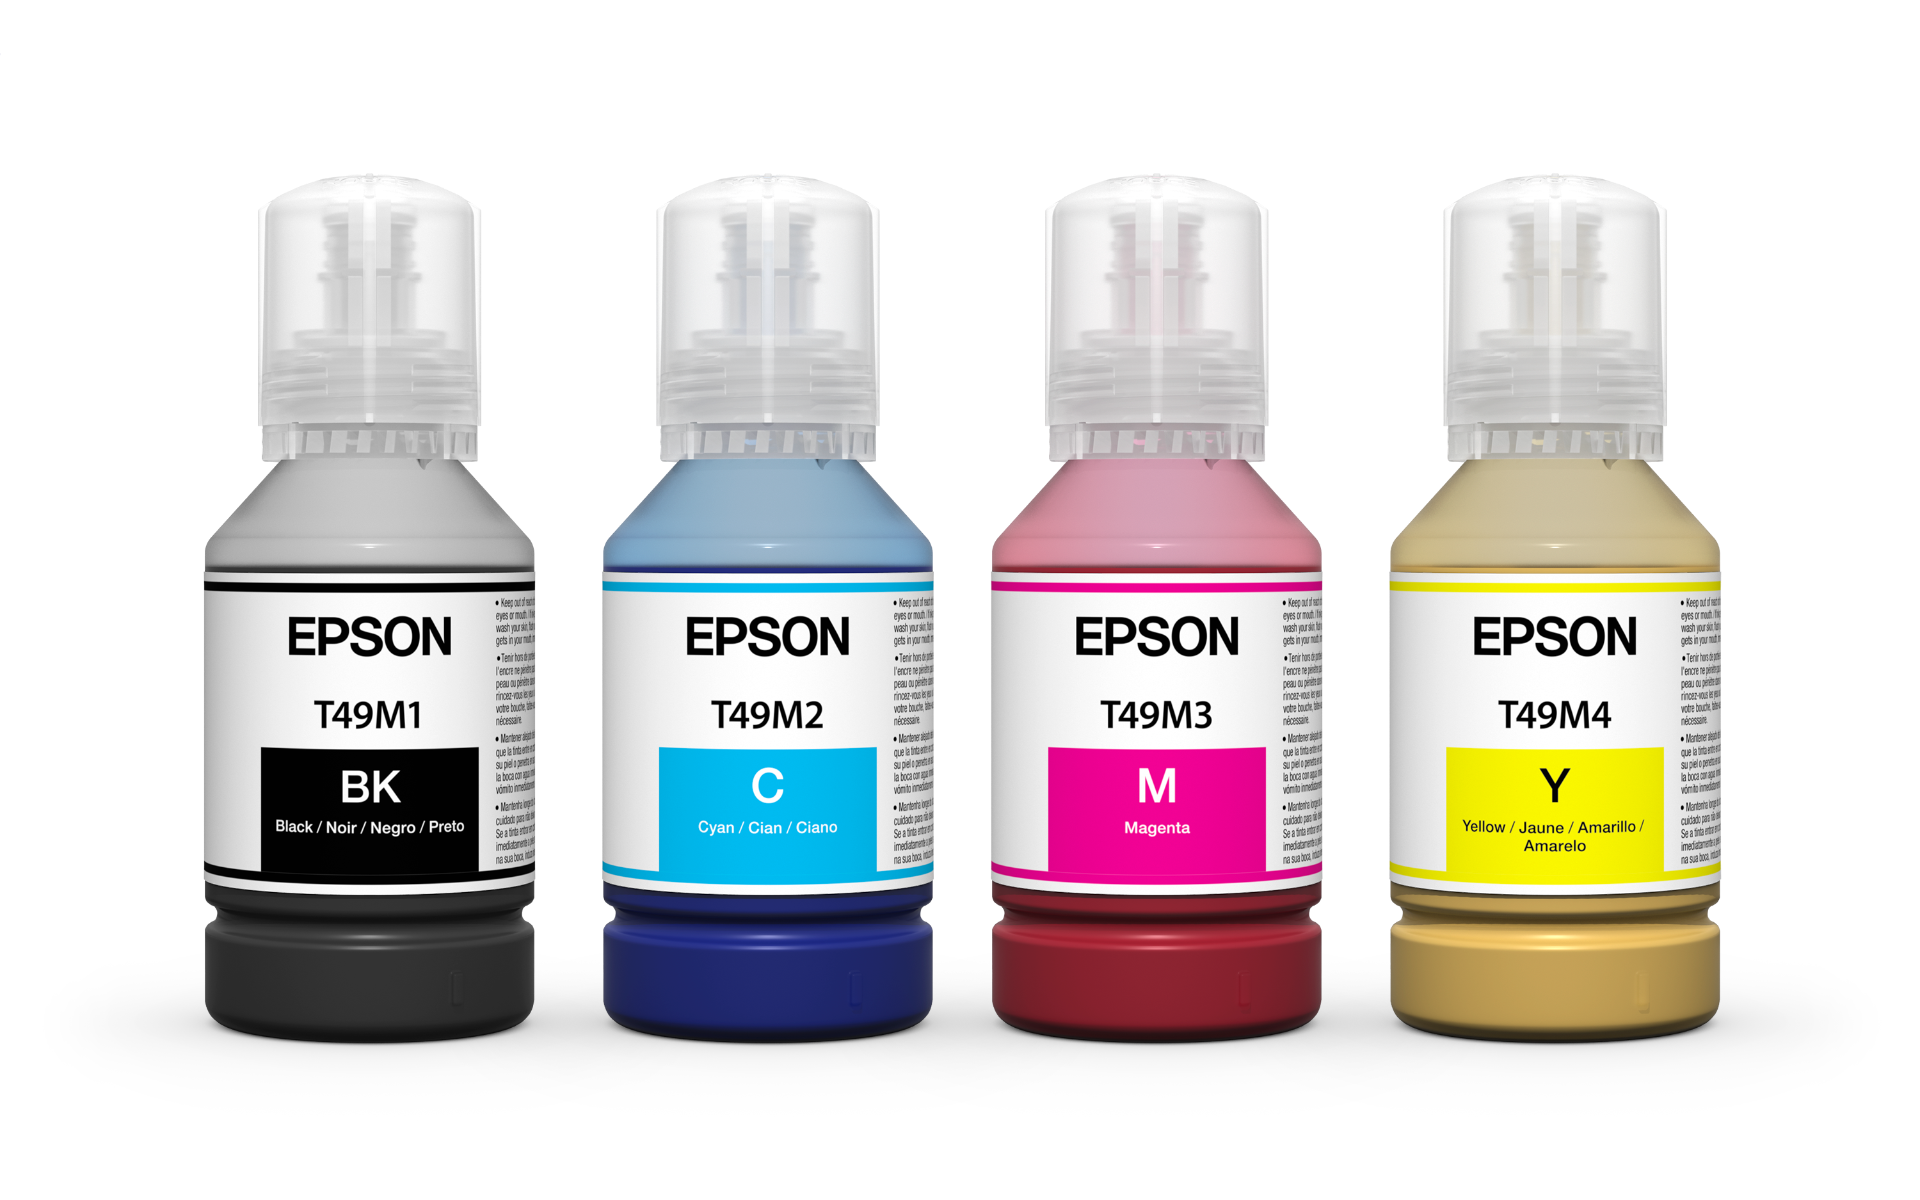
Use a printer specifically designed for sublimation printing, such as the Sawgrass SG500 or SG1000, or an Epson printer converted for sublimation use. Sublimation inks are specially formulated to convert from solid to gas under heat, permanently bonding with the panel's polyester coating. Using the correct ICC color profiles is essential for accurate color reproduction.
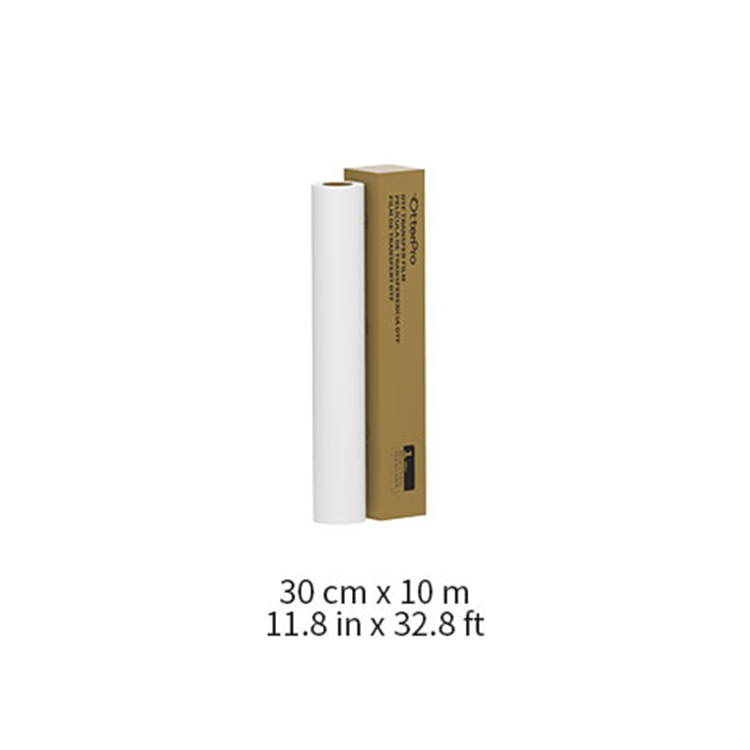
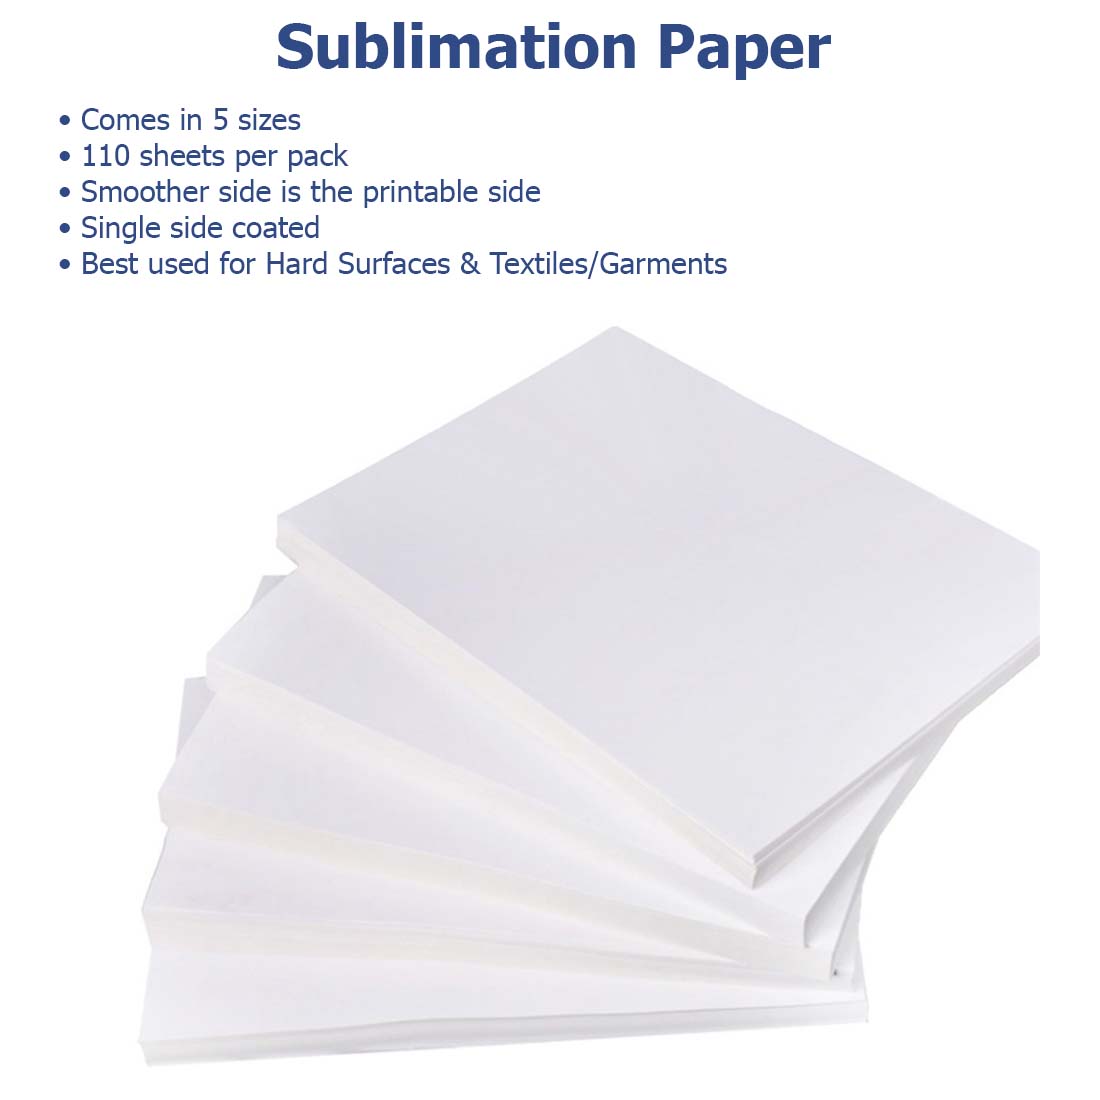
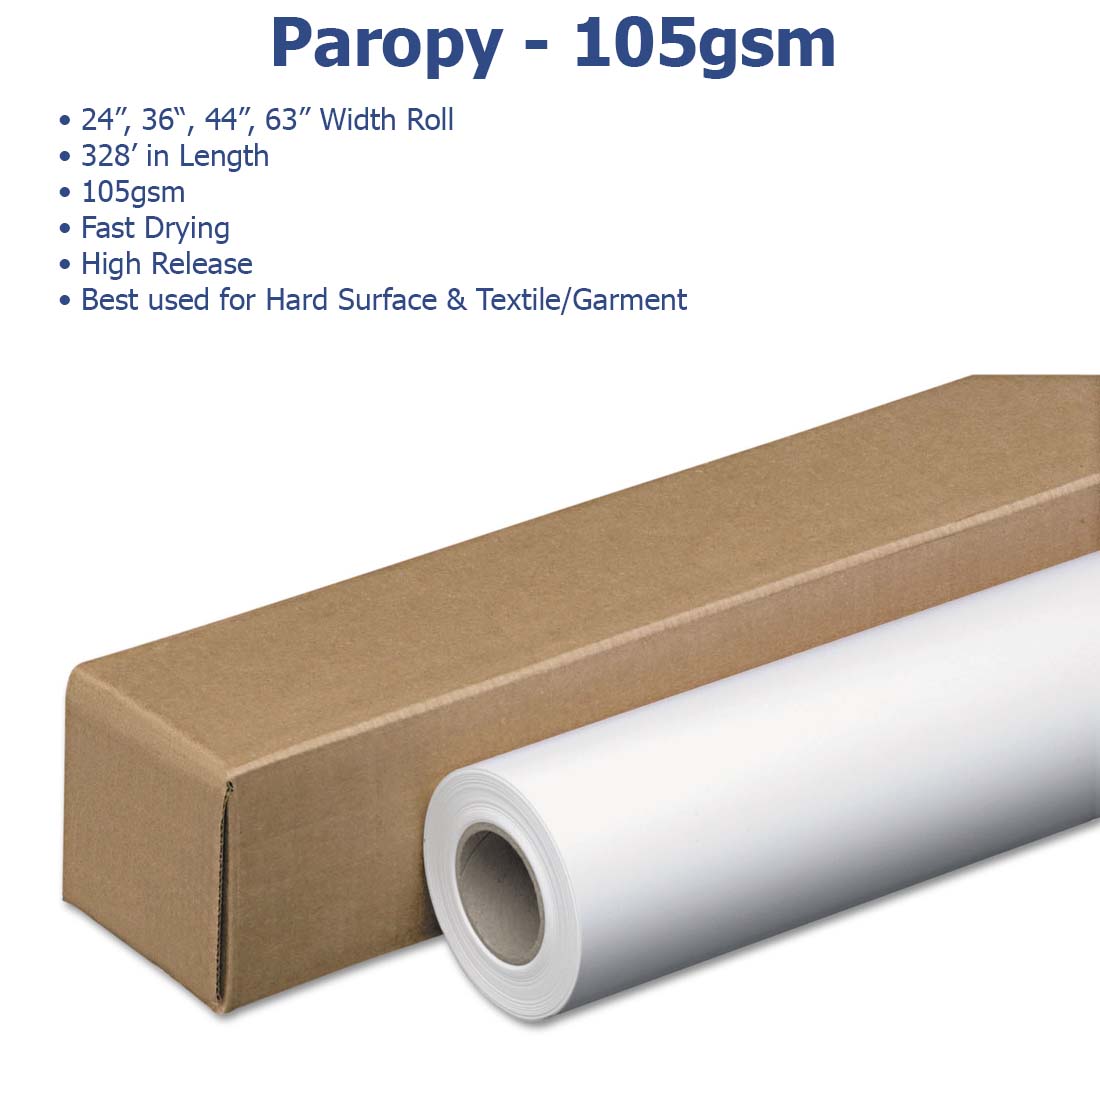
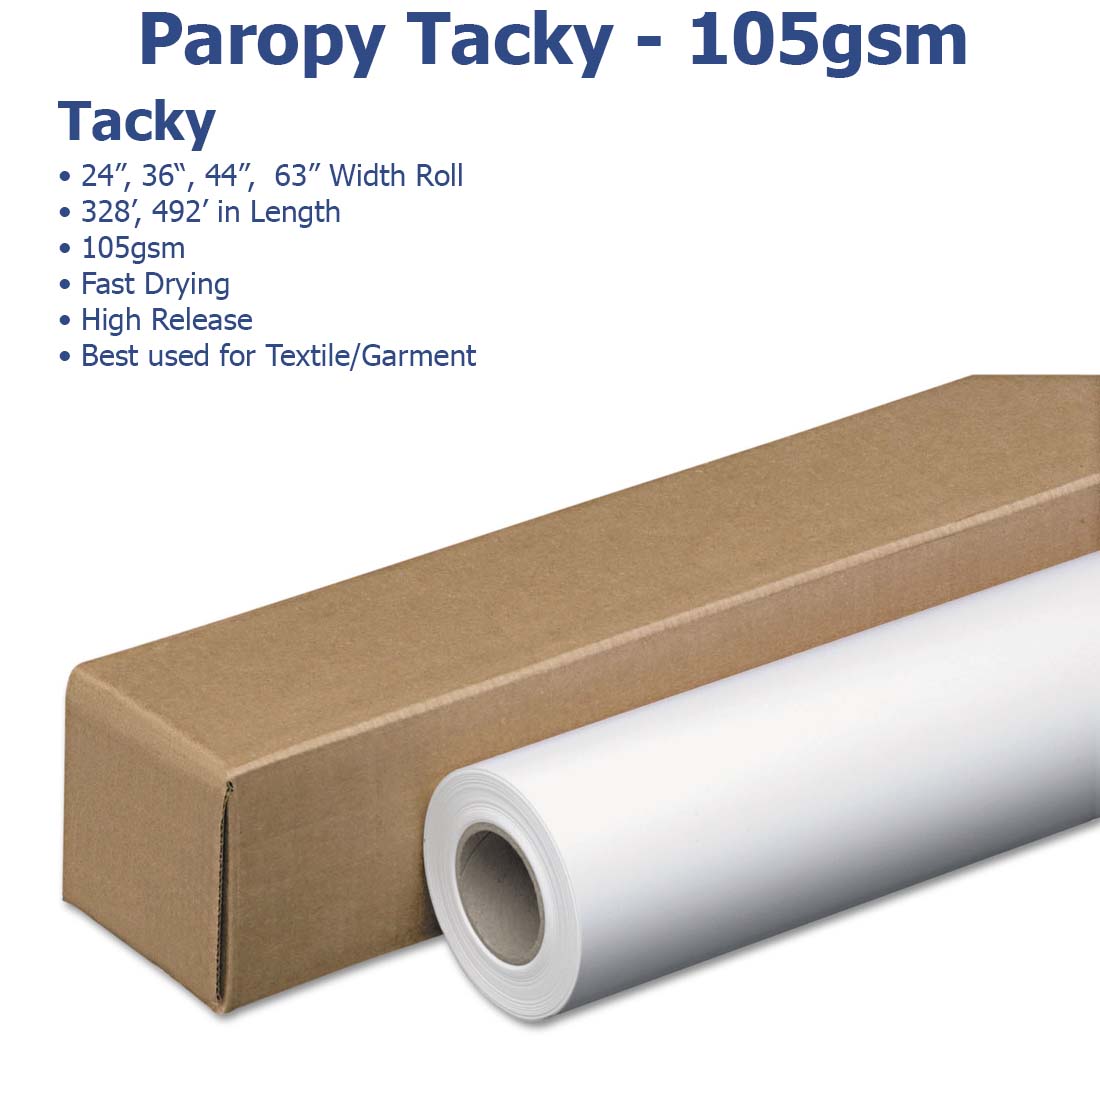
High-Quality Sublimation Transfer Paper
Specially coated sublimation paper holds ink on the surface until the heat press activates the transfer. Low-quality papers can cause uneven ink release, resulting in blotchy or faded prints. We recommend high-quality Joto sublimation paper for vibrant and sharp transfers.
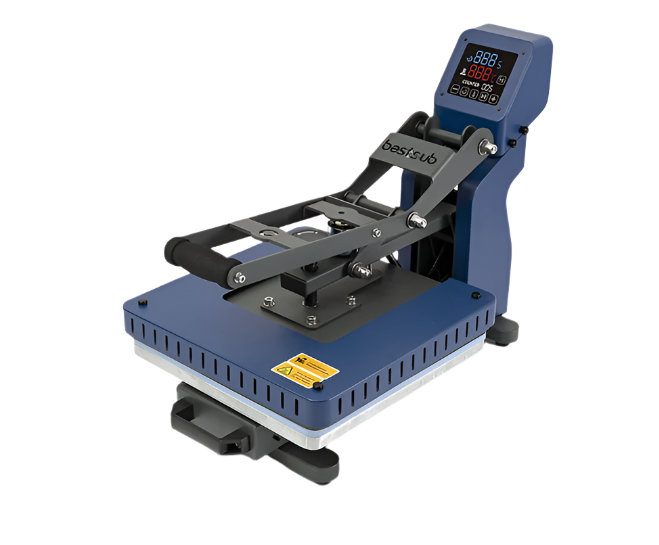
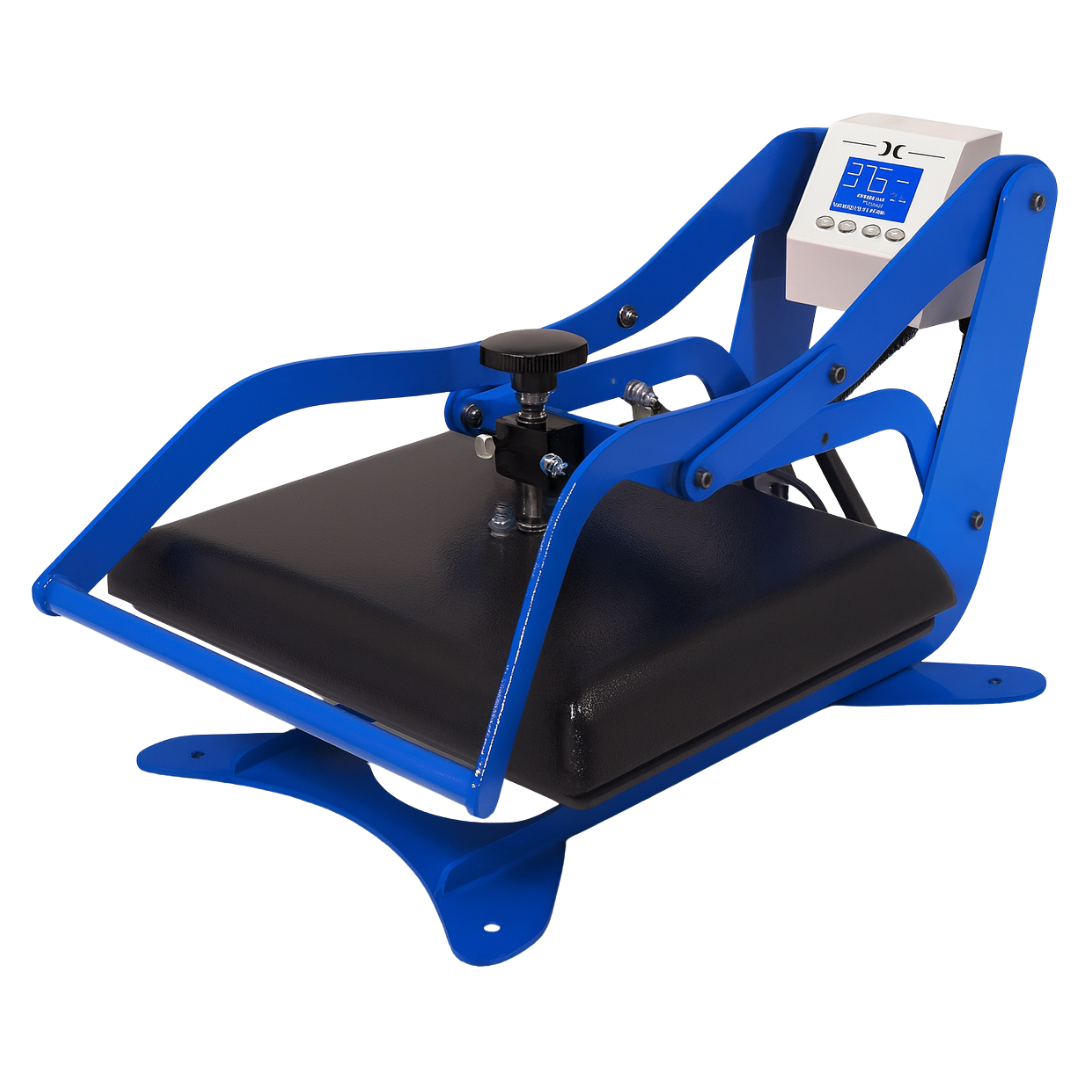
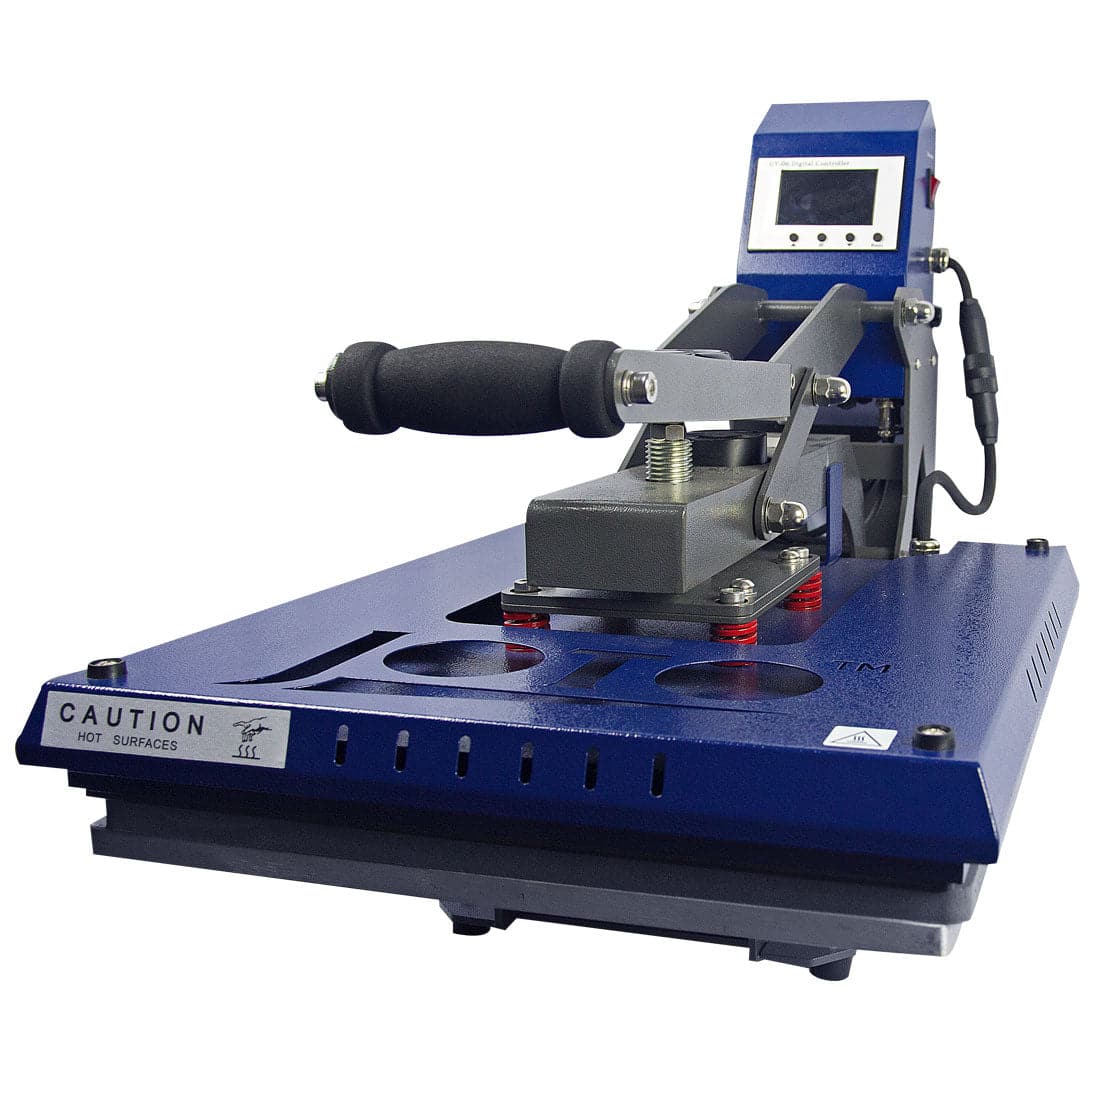
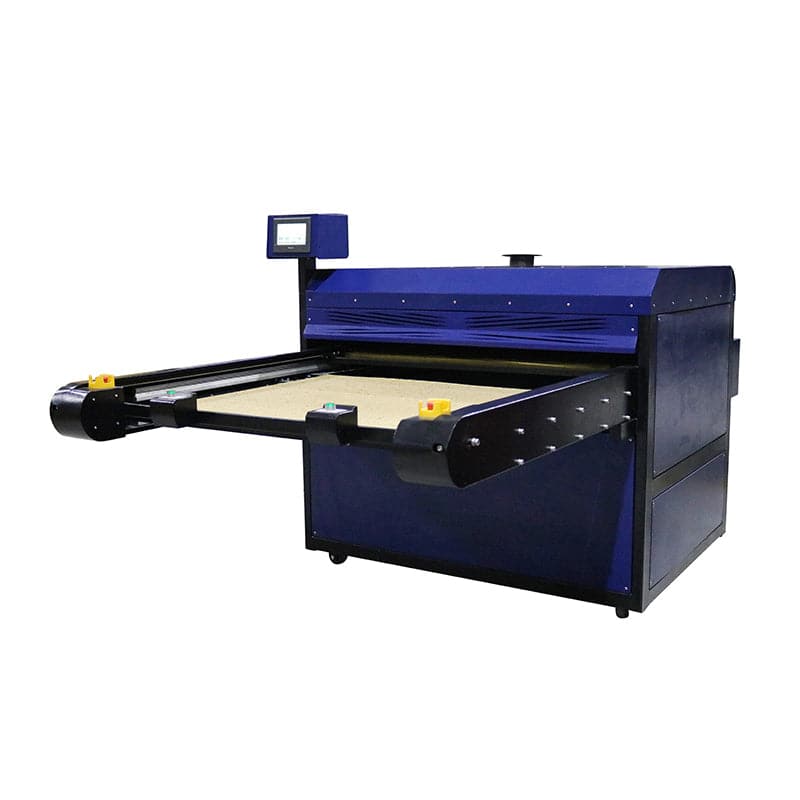
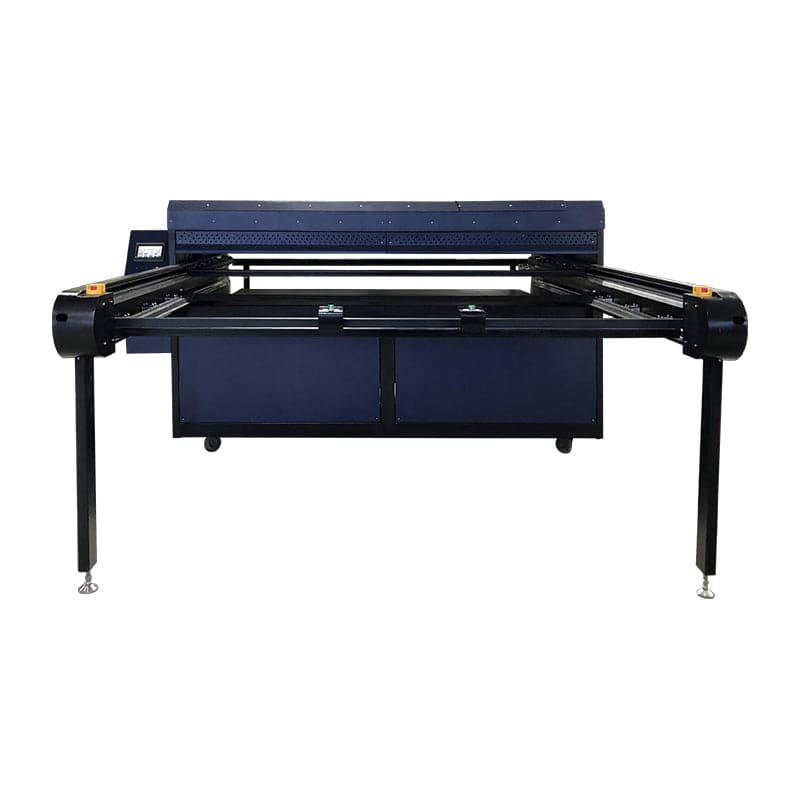
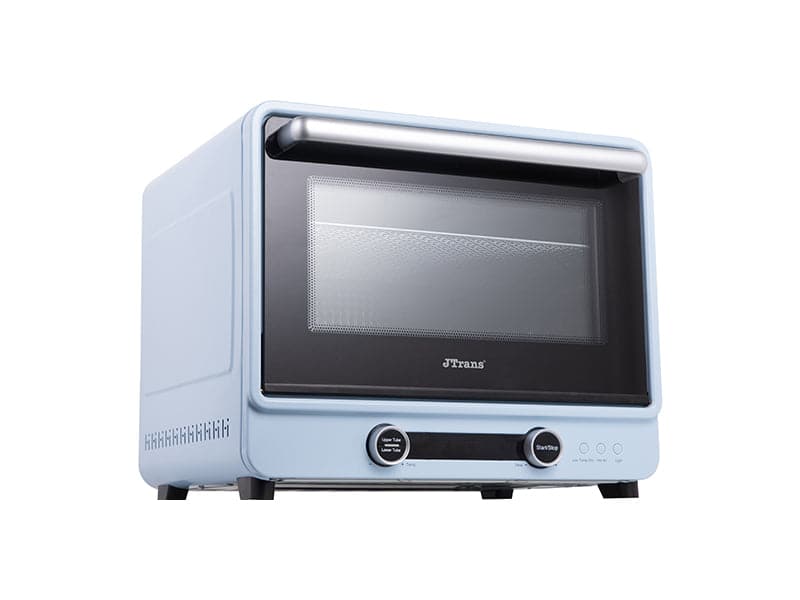
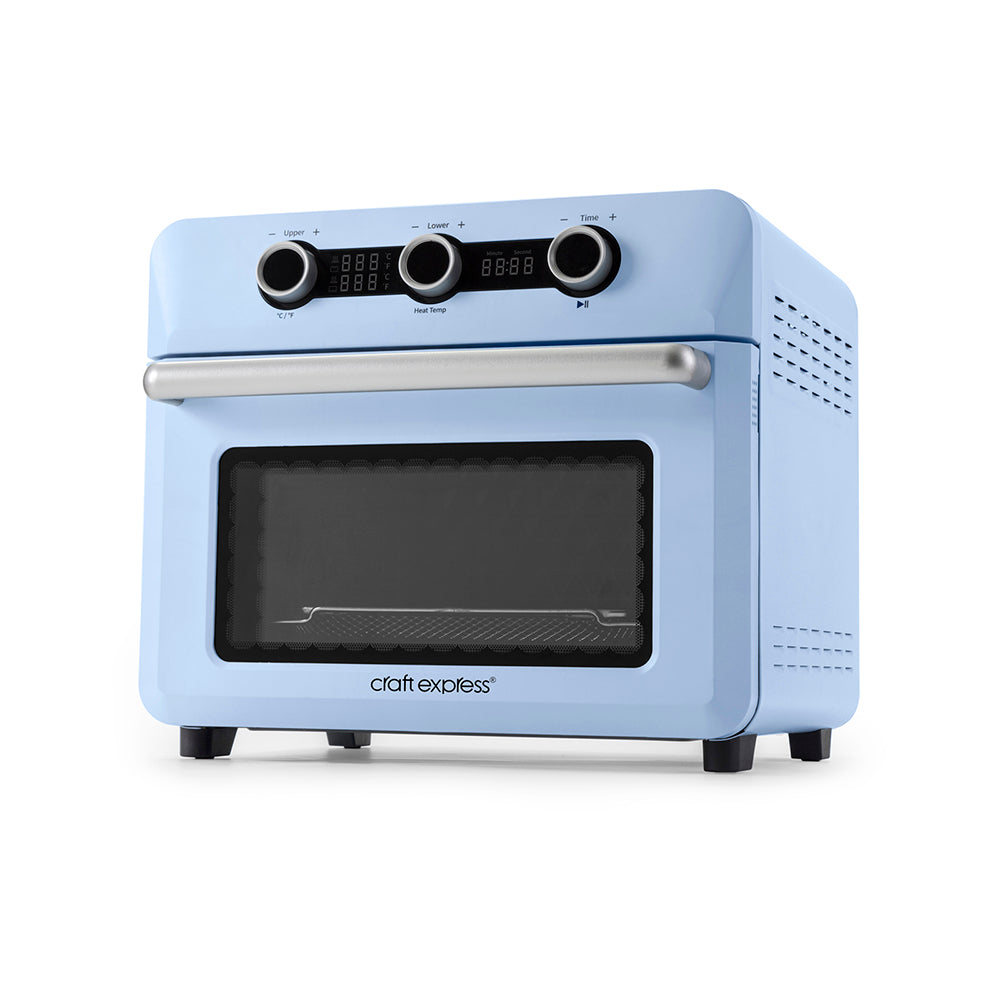
Heat Press Machine (16" x 20" or Larger)
A flat heat press, either 16" x 20" or 30" x 40" depending on your panel size, is essential for aluminum sublimation. The press must maintain consistent temperature across the entire platen and be capable of reaching and holding 400°F (205°C).
Nomex Felt Pad for Even Heat Distribution
This heat-resistant felt sits beneath the aluminum panel during pressing and ensures even heat distribution across the entire surface, preventing scorching or hot spots.
Silicon Sheet for Protection
The silicon sheet is placed above the Nomex felt and provides additional protection and even pressure distribution during the heat transfer process.
Polyester Cover Fabric (Not Teflon)
Use polyester cover fabric instead of Teflon sheets when pressing aluminum panels. Teflon can interfere with heat distribution on metal substrates, potentially causing uneven transfers. The polyester fabric ensures a flawless transfer without disrupting critical heat flow.
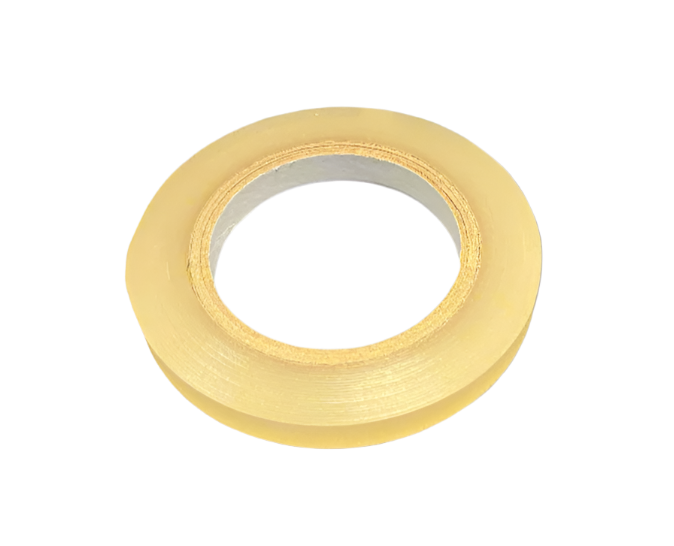
Heat-Resistant Tape
Use heat tape to secure the transfer paper to the aluminum panel during pressing. Even the slightest movement during the pressing cycle causes ghosting, where you'll see a double or blurred image.
Lint-Free Cloth and Isopropyl Alcohol
Clean panels thoroughly before every press to remove dust, fingerprints, oils, and any residues that could impact print quality. Use a lint-free microfiber cloth with 70% or higher isopropyl alcohol for best results.
Heat-Resistant Gloves for Safety
Essential for safely handling panels immediately after pressing. Aluminum panels come out of a 400°F press extremely hot and can cause serious burns.
Preparing Your Design for Perfect Results

Careful design preparation is crucial for vibrant, accurate sublimation results. Many printing problems that appear during or after pressing actually originate during the design phase.
Always use images with a minimum resolution of 300 DPI at the actual print size. Lower resolution images may look acceptable on screen but will appear pixelated or blurry when printed at full size on aluminum panels.
Mirroring your design before printing is absolutely critical. Your design must be flipped horizontally because the printed side goes face-down against the aluminum panel. If you forget this step, any text will be backwards and the entire image will be reversed.
Add a bleed margin of approximately 0.125" to 0.25" around your artwork. This extra margin ensures that any slight misalignment during taping or pressing won't result in white borders or edges on your final panel.
Using ICC color profiles provided by your printer manufacturer or substrate supplier is essential for accurate color reproduction. Install the correct profile in your design software and printer driver for the most accurate color matching between screen and final printed result.
After printing, allow your transfers to dry completely before handling or pressing. Most sublimation papers need 30-60 seconds to dry fully. Pressing wet transfers can cause smudging or color bleeding.
The Sublimation Process Overview
The video above demonstrates the complete process, but here are the key steps: print your design on sublimation paper (mirrored), remove the protective film from the panel, clean the surface with isopropyl alcohol, tape the design face-down to the panel, press at 400°F (205°C) for 85 seconds (16"x20" press) or 75 seconds (30"x40" press), and remove the transfer while still hot. Proper layering is critical: Nomex felt, silicon sheet, aluminum panel with taped transfer, and polyester cover fabric on top.
Heat Press Settings and Troubleshooting
The standard temperature for aluminum panel sublimation is 400°F (205°C), but heat press displays aren't always accurate. If experiencing faded colors, use an infrared thermometer to verify your actual platen temperature. Pressure matters significantly—too little creates uneven contact and blotchy areas, while too much can cause ghosting. Medium to firm pressure works best. Larger presses often require slightly less time as they retain heat more efficiently.
Common Mistakes and How to Avoid Them
Understanding the most common mistakes helps you avoid them and quickly diagnose issues when they occur.
Ghosting appears as a blurred or doubled image and is almost always caused by the transfer paper shifting during pressing. Prevent this by using adequate heat-resistant tape and ensuring the transfer is completely flat against the panel before taping.
Faded or washed-out colors typically result from insufficient heat, pressure, or time. Verify your press temperature with an infrared thermometer and ensure you're using fresh sublimation inks.
Spots or blotches in the final print usually indicate surface contamination. Always clean panels thoroughly before pressing and handle cleaned panels only by the edges.
The protective film mistake is common and frustrating. Always remove the protective film before pressing. If you forget, the entire print is wasted because the dyes sublimate into the film rather than the panel coating.
Pro Tips from 37 Years of Experience

Always run test prints before full production runs, especially with new panel sizes or materials. Store aluminum panels flat in their original packaging in a clean, dry environment. Clean your heat press platen regularly with isopropyl alcohol to prevent contamination transfer. Document your successful settings - temperature, time, and pressure - for different panel sizes to ensure consistency across production runs.
Evaluating Your Results for Quality Control
Allow panels to cool fully before removing the transfer paper and inspecting your results. Handling panels while still hot can cause fingerprints or smudges on the freshly sublimated surface.
A perfect sublimation print on aluminum should show vibrant, saturated colors with no fading or light areas. Details should be sharp and clear with no blurring or pixelation. Check the edges and corners carefully—these areas sometimes show incomplete transfer if pressure wasn't distributed evenly. The surface should be smooth with no bubbles, wrinkles, or texture from the transfer paper.
If you notice any issues, refer back to your process notes. Most problems can be traced to specific causes: insufficient temperature or time for faded colors, movement during pressing for ghosting, dirty surfaces for spots, or pressure issues for uneven coverage. Make adjustments and run another test before proceeding with production.
For detailed FAQs and additional support, visit Joto Imaging Supplies Canada. Our team is here to help you achieve professional results with every print.